Document Scanner: Scan Documents To Email Using Cut Paste
Looking for a document scanner where you can add your signature to your papers and send them straight online? Look no further because, in this tutorial, we’ll teach you how to scan documents using the Cut Paste Photos Pro App.
How do you scan documents using the Cut Paste Photos Pro App? The “Document Scanner” add-on tool allows you to scan documents on-the-go. Simply point it to your document, shoot, and crop out the unnecessary details. It’s that easy!
With our advancing technology today, you can do pretty much everything on your phone like scanning documents. But, why bother using a document scanner if you can simply take pictures of them? Follow along as we discuss that. But for now, let us walk you through on how to use the Cut Paste Photos Pro App’s Document Scanner.
Your Document Scanner On-the-Go
Not only can you create collage and crop photos, but you can also scan documents with the Cut Paste Photos Pro App! How convenient is that? Follow along as we help you do it step-by-step.
Step #1: Link your email.
In this tutorial, we’ll teach you how to send your scanned document through email. In order to do that, you would have to link your email to the app. A page will then pop up once you’ve opened the app. Choose between your personal email or with Google. After that, click on “Document Scanner” under “More Tools”.


Step #2: Point and scan.
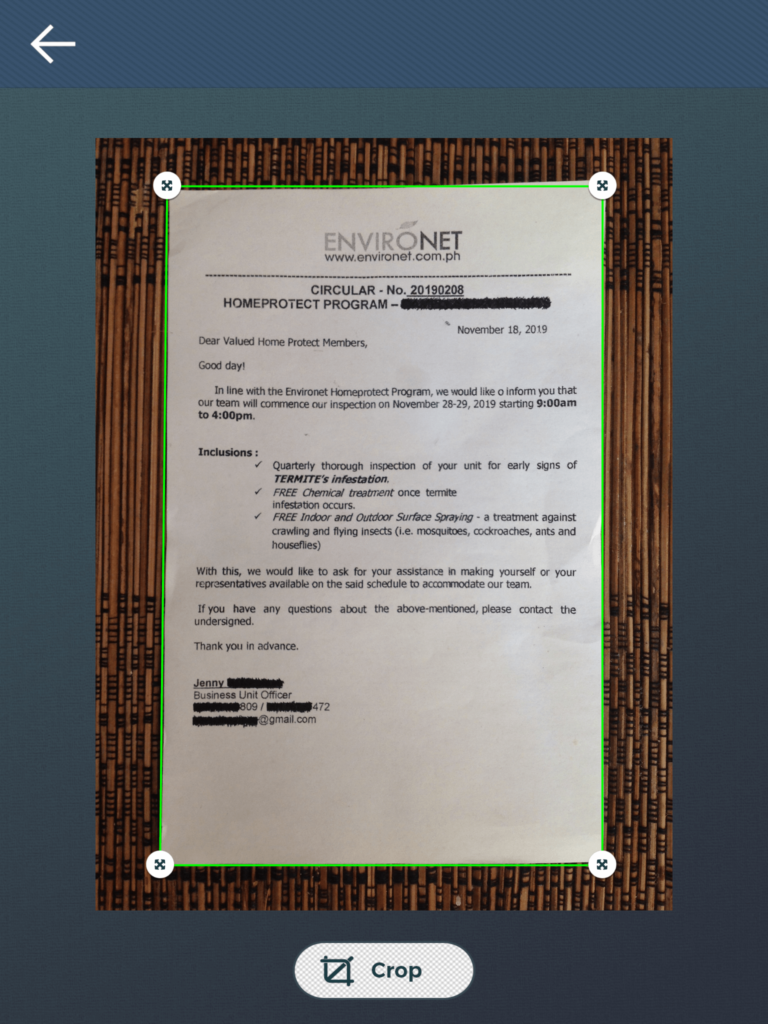
Once you’ve clicked on “Document Scanner,” a blue patch will appear on your screen. Point it over your document and level on the part you want to scan. Then, tap SCAN.
Step #3: Crop the important part.
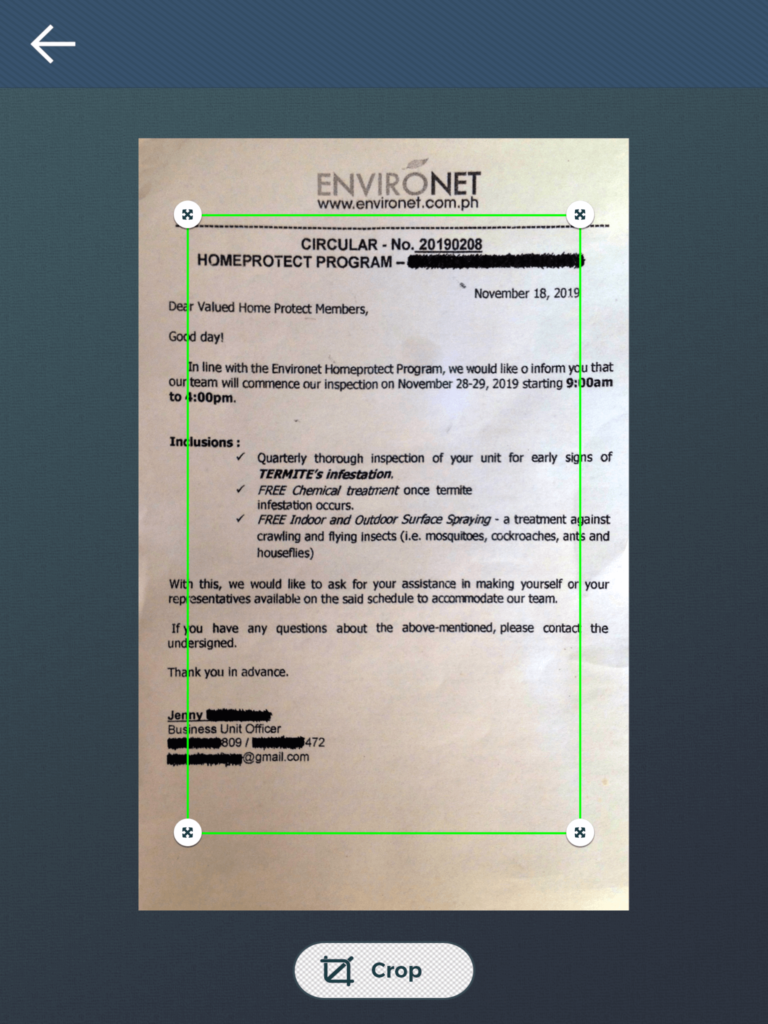
In this step, you can crop the part of your document you will use or need. When you tap CROP, it will remove the irrelevant part of your document.


Step #4: Do some adjustments.
You can tweak your image by adjusting the brightness, saturation, and contrast. Just tap the ADJUSTMENT button right under your document. In this example, I made minimal adjustments just to make it more visible.
Step #5: Option to crop.
If you think you haven’t cropped enough, you can crop more by tapping the CROP button just below your document. For this one we’re doing, we’ll just leave it this way.


Step #6: Add a text or signature.
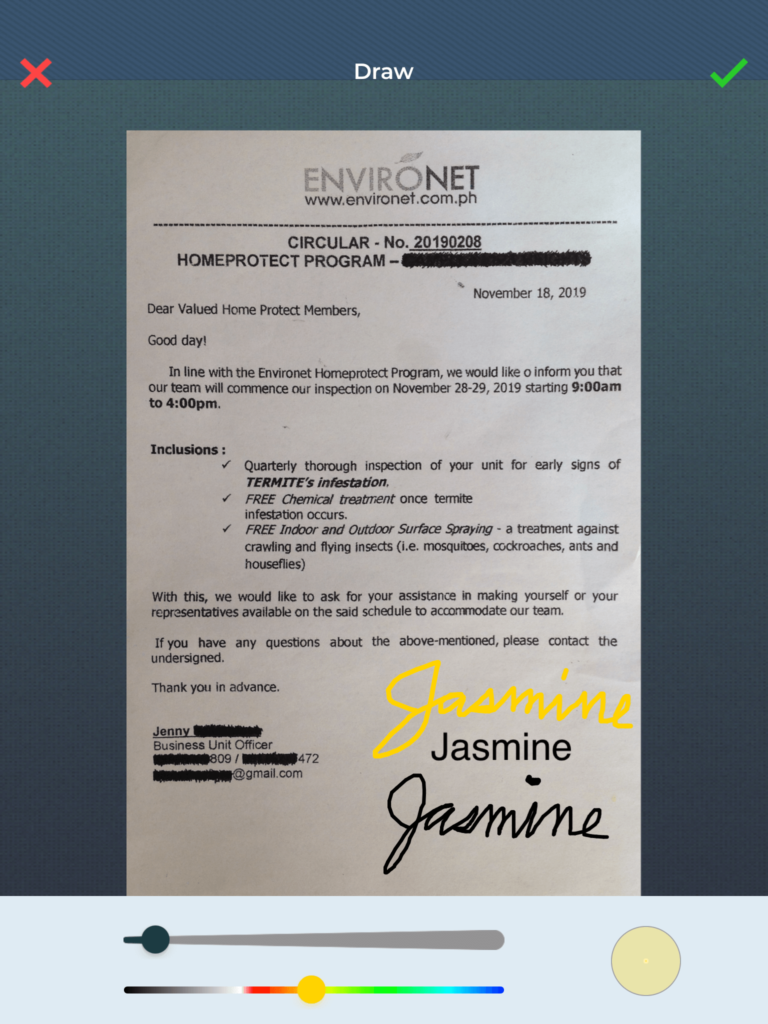
Tapping on the EDIT button will give you the option to add text or a handwritten signature. We’ll try both on this tutorial just for fun.
For the TEXT option, you can change the font style, size, and color. When you tap the SIGNATURE, you can draw your handwritten signature. You can also adjust the size of your pointer and even the color of it.
If ever you mess up, you can always erase it by tapping the round button on the right. This will change your pointer into an eraser. To draw your signature again, just tap the circle button to change it back into a pointer.


Step #7: Add another document.
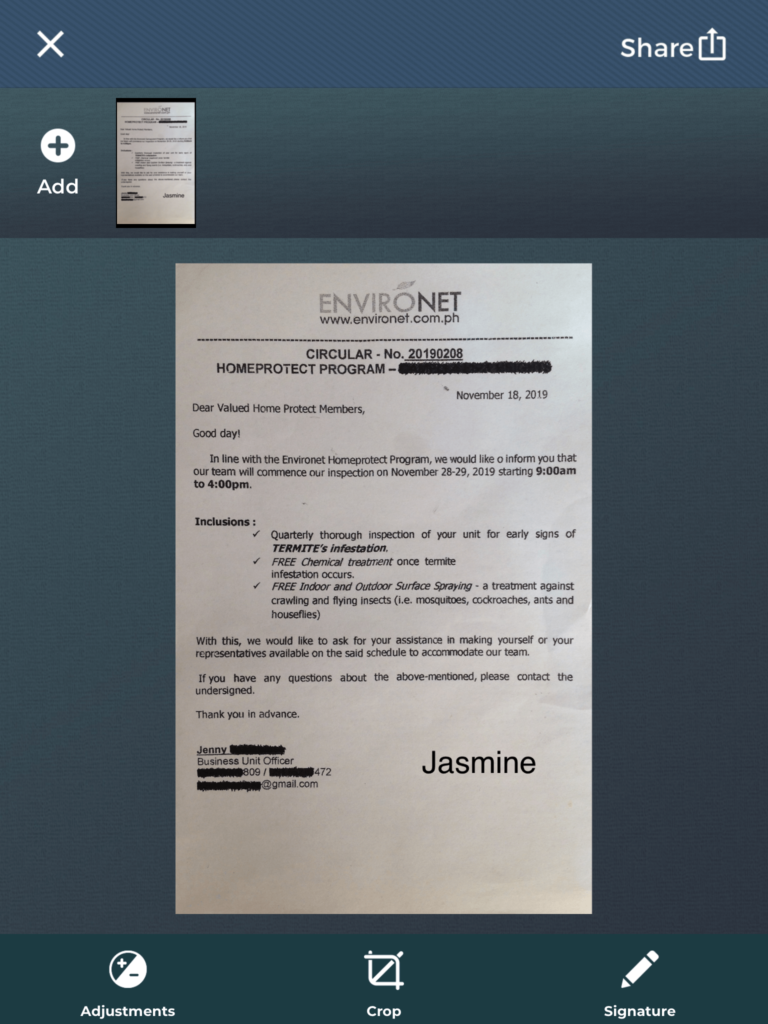
Once you’re done with your first scanned document, you can add another one without going back on the app’s homepage. To do this, just tap on the ADD button at the top left corner of the editor.
Word of advice, never, as in NEVER click the “X” button on the midway of your editing. You will lose all of your progress if you do that. That means you will have to start all over again with Step #1. You’ve come this far. Don’t face the same outcome I faced. It ain’t fun. (curls up in the corner)


Step #8: Save and send.
There you go! You’re one step away from saving and sending your final product. Don’t mess this up, okay? Choose between JPG and PNG format to save your scanned document. Now, click on the EMAIL button to send it directly via email. And, voila! You’re done!


Difference Between Document Scanner and Camera
You might wonder what’s the use of a document scanner if you can simply take pictures of them. Which one do you use on which things?
Depth of Field
“Depth of Field” refers to the distance between the object in focus and its background.
When using a camera, you can deepen or shorten the variable field, depending on the lens system you’re using. Your object must be at least 2-feet away for you to capture it perfectly. With a good-quality camera, you can get a sharp focus on the object or part of the “field” surrounding it.
On the other hand, document scanners can do a simple test scan of an object that is deeper than one inch. The closer the object is to the “lens,” the sharper and more exquisitely detailed your image will be.
So, when it comes to depth of field, cameras can capture clear images of objects that are about 2-feet away. Document scanners, on the other hand, can create clear images of objects that are closer than a quarter inch.
2D vs. 3D
Cameras capture better pictures of deep 3D objects, while document scanners take better pictures of close up 2D objects, like pages of papers, paintings, etc.
Reaction to Light
One similarity of both scanners and cameras is that they capture images with the use of light. The difference, though, is their reaction to light.
Scanners usually use reflectance technique and record the information bounced back to them. It emits a beam and reads the light that gets returned to it. On the other hand, cameras capture light waves generated by either a lamp or the sun, and other sources, etc.
Mistakes to Avoid When Scanning Important Documents
Going paperless is why a lot of people have started scanning their documents. But since you’re making digital copies of your important documents, make sure to keep the following tips to avoid making mistakes.
Determine the speed and size that you need.
Make sure you invest in the right document scanner for your needs. Never cut corners in this area. Find a scanner that can handle the size of your documents. As for speed, you have to determine the volume of documents you have to scan. Take into consideration, as well, the time frame you want it done. If it’s for your personal use, a range of 20-30 pages per minute is ideal.
Find awesome scanner features.
When looking for a document scanner to download, look for functions and features that will save you a lot of time. The enhanced image clean-up feature will help you highlight your documents, color paper, etc. The auto-rotate or auto image orientation feature will surely make your work easy. That feature will attempt to automatically rotate each image the right way saving you the hassle of doing before or post scanning.

Choose a unique naming convention.
Rename your documents, so you can easily find them later. Once you’ve chosen the naming convention that works for you, stick with it. There is nothing more annoying than filing your documents in a format that changes every other year.
For business purposes, try using unique characters like the tilde (~) or the underscore (_) to separate index values. Including those unique separations on your file names will make it easier to transfer these values into a document management system at a later date.
Do regular maintenance.
Whether you are using a mobile document scanner or a computer one, you need to properly maintain it. How? Have it regularly updated and checked.
Create a back-up.
How are you backing up your documents? Are you syncing them between your local computer/network? Are you using a cloud service or existing network back-up policies? Either way, make sure you have a back-up of all your important documents. There is nothing worse than losing all of your personal or corporate records because of failure to create a backup.
Keep some original paper copies.
It will cost a lot of problems if, while upgrading software, your tax documents in the old format won’t translate well. So, be sure to save paper copies of your important documents. Paper, while bulky, is pretty close to forever if you store it properly. Just don’t forget where you put it!
Related Questions
Is it safe to scan important documents using scanning apps?
Yes, document scanners, like the Cut Paste Photos Pro app, are safe to use when scanning your important documents. App developers will not view your documents. You can even create your account and others will still not see the documents you scanned.
What’s the difference between a mobile scan and a computer scan?
Although both do the same task, a mobile app scanner and a computer scanner are different from each other. On mobile, a document scanner app recognizes the characters to offer a scanned file. In a computer scan, though, the installed software scans computer files and checks if they are infected with a virus or not.