Design An Invitation And Invitation Envelopes With Cut Paste
Planning to DIY the invitations and invitation envelopes for your next big event? In this tutorial, we will show you how to nail it!
How do you design an invitation and invitation envelopes with Cut Paste Photos Pro? Whether you’re creating a digital version or planning to print designs, invitations are a pretty crucial part of your event. With the Cut Paste Photos Pro app, you can choose the color palettes, themes, typography, and imagery for your invitations!
DIY-ing your invitations and invitation envelopes can be overwhelming if you don’t have a solid plan in mind. So, be sure to follow the steps we mentioned here closely. Also, check out the tips we’ve compiled to help you bring your dream design into life.
DIY Invitation and Invitation Envelopes 101
You’ve set the date, booked the venue, hired the caterer, and chosen the theme. For this tutorial, we’ll do a wedding invitation and invitation envelopes. What are the things you need to prepare?
Step #1: Know Your Visual Style
Your distinct visual style will affect the overall appearance of your card, including its color scheme, illustrations, and typography. Deciding the fitting style for your invitation may be overwhelming at first since there are a lot of styles you can choose from. Do some research to help you narrow down which one is perfect for your event.
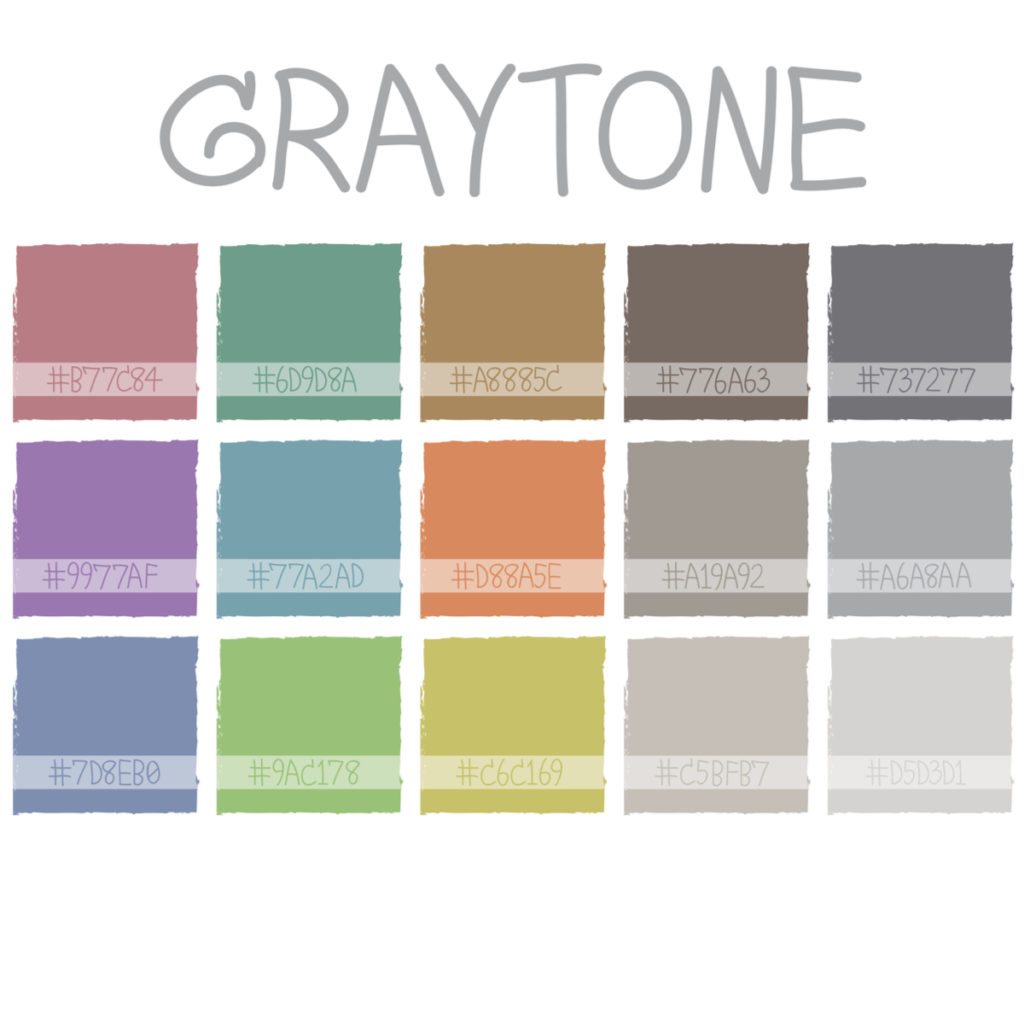
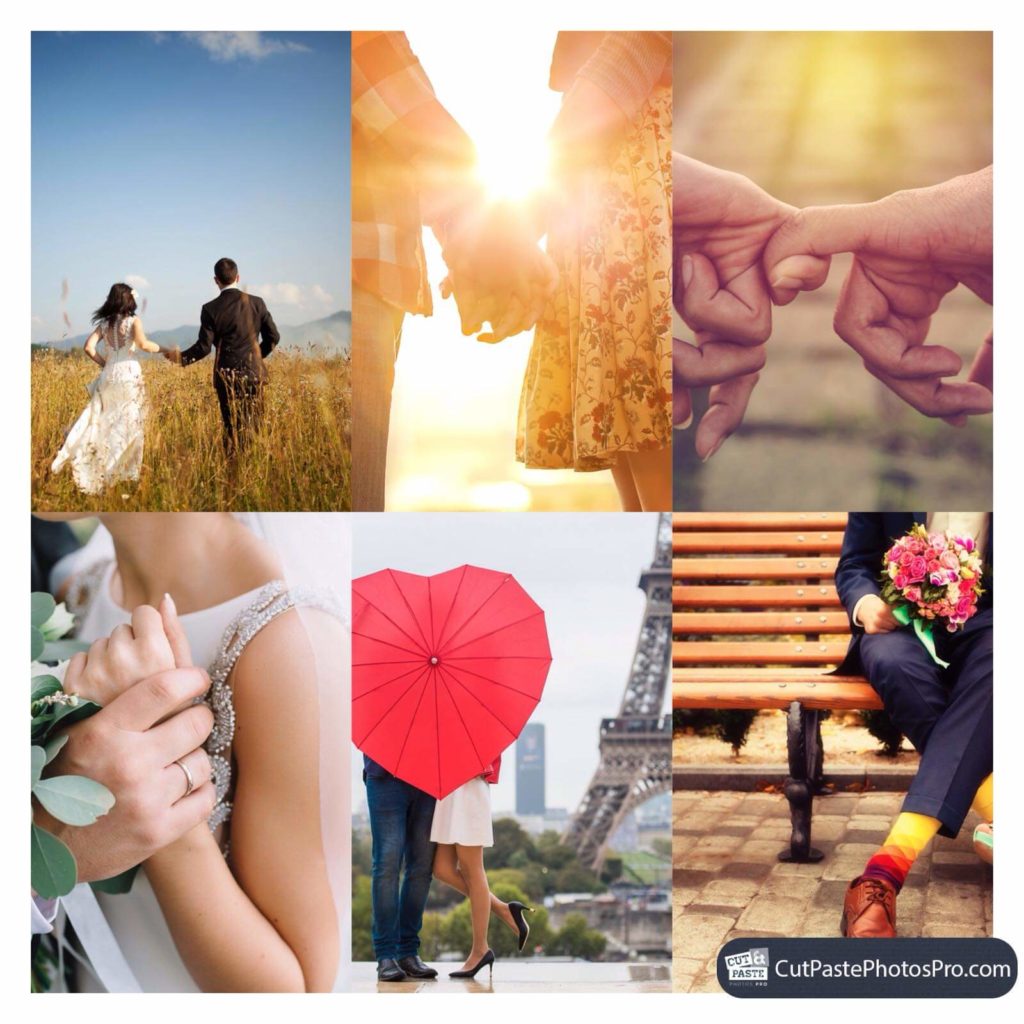
For this wedding invitation, we’ve compiled pictures of a couple, used a pastel color palette, and did a plaid pattern.
Step #2: Create a Collage
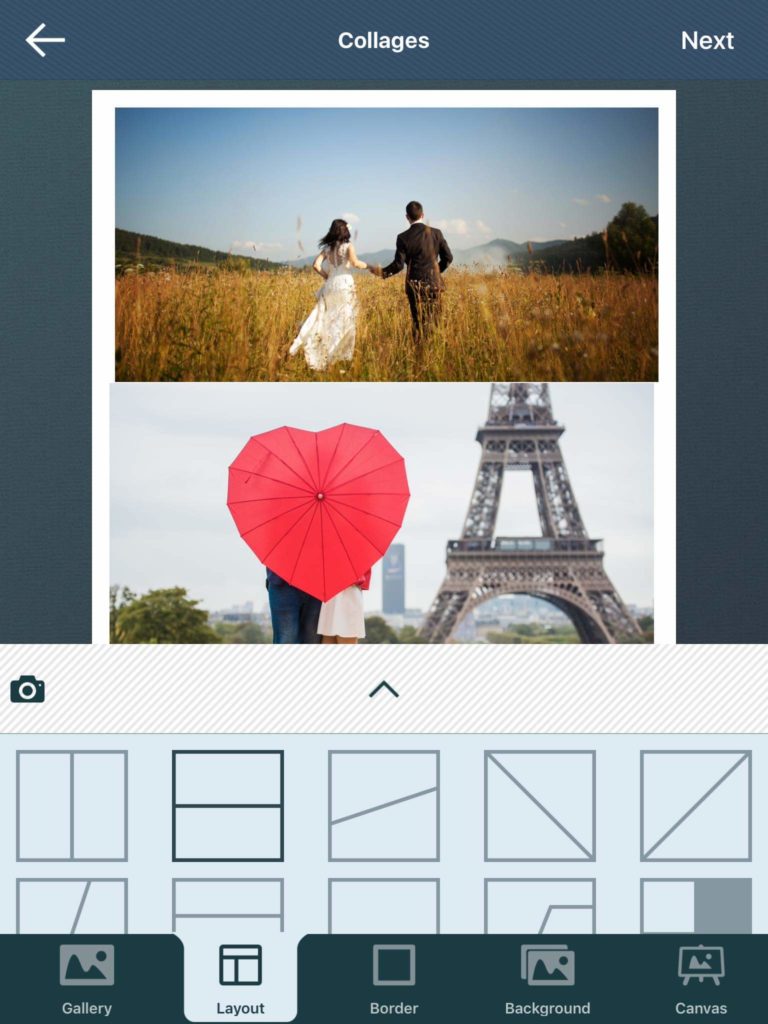
Now, first up, download Cut Paste Photos Pro to create your invitation and invitation envelopes. To create that plaid pattern of photos and colors, click on “Make a Collage.” This process can be a bit lengthy, so you would need to gather up a lot of patience. Ready?
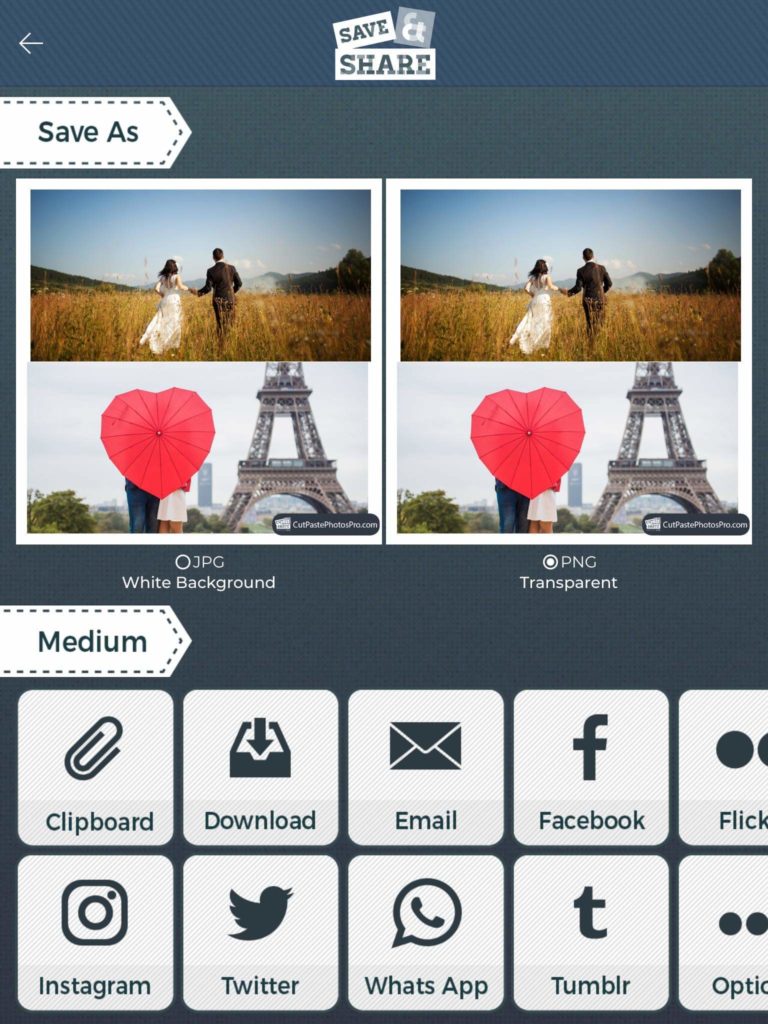
We’ll combine six images and three color blocks for this invitation. Let’s start by combining two pictures. Once done, save it as a PNG image to get that transparent background.
Step #3: Add a Block of Color
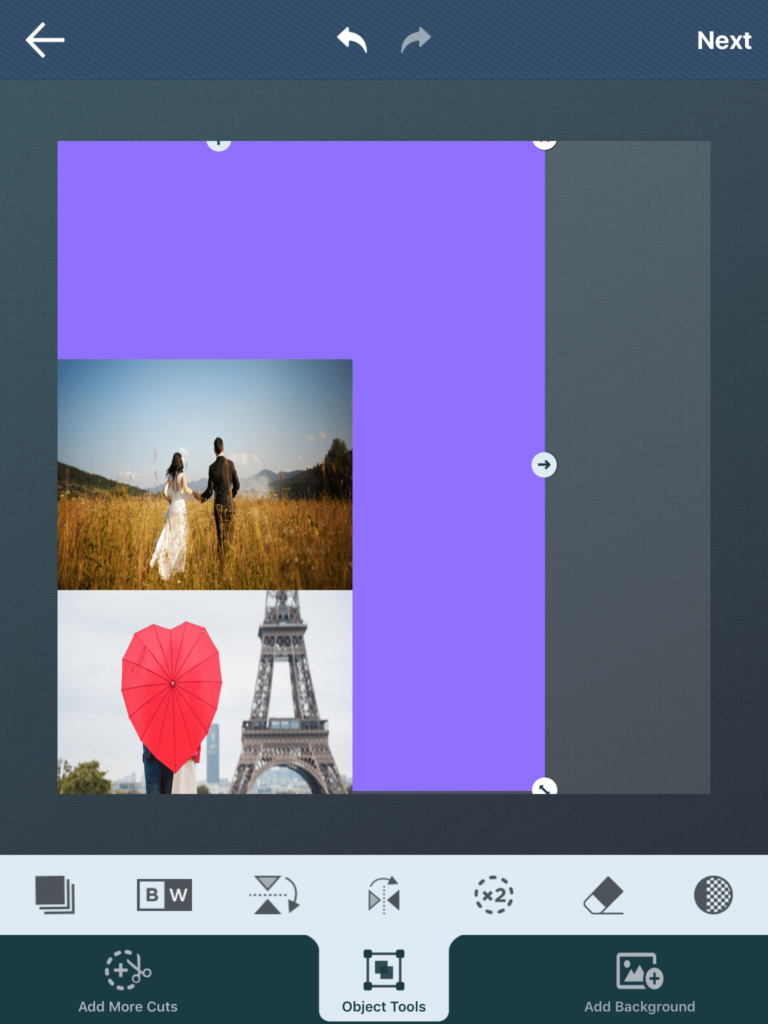
Now that you’ve combined two pictures together, it’s time to add a color block. From the main page of the app, click on “Choose from Library.” Now, pick the collage you just made. Make it smaller and put it on the lower-left corner of your canvas.
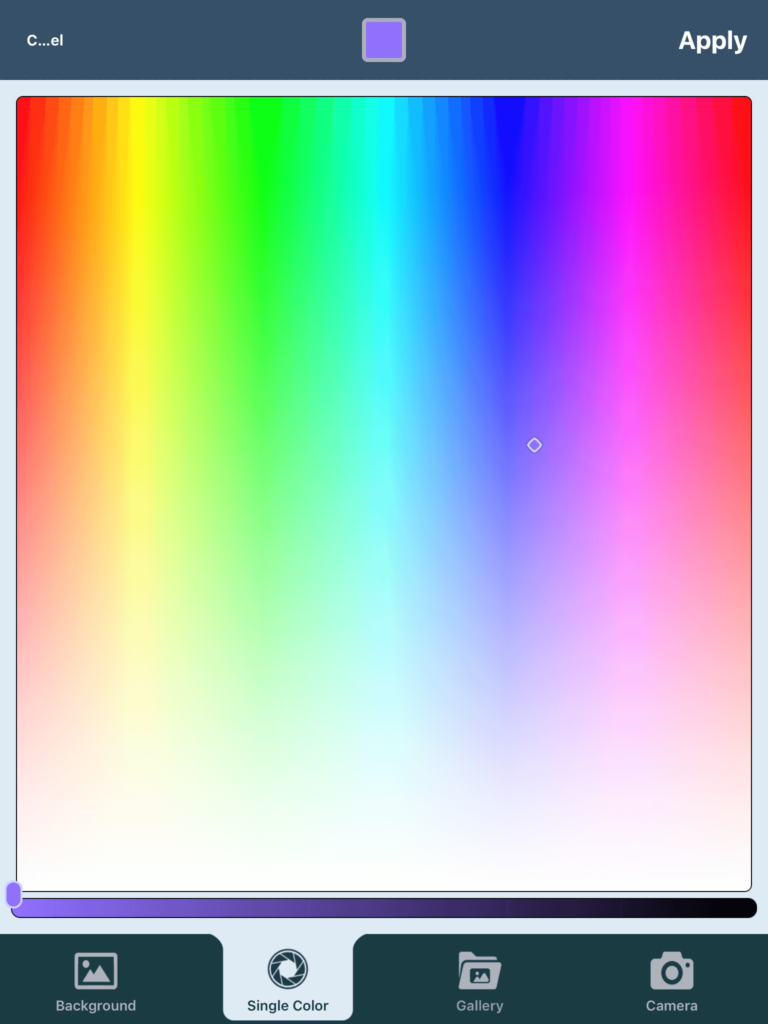
Click on “Add Background” and then choose “Single Color.” You can now pick the color of your liking. For the invitation we’re making, we’ll use crimson-purple and gray colors. We’ll start with crimson-purple.
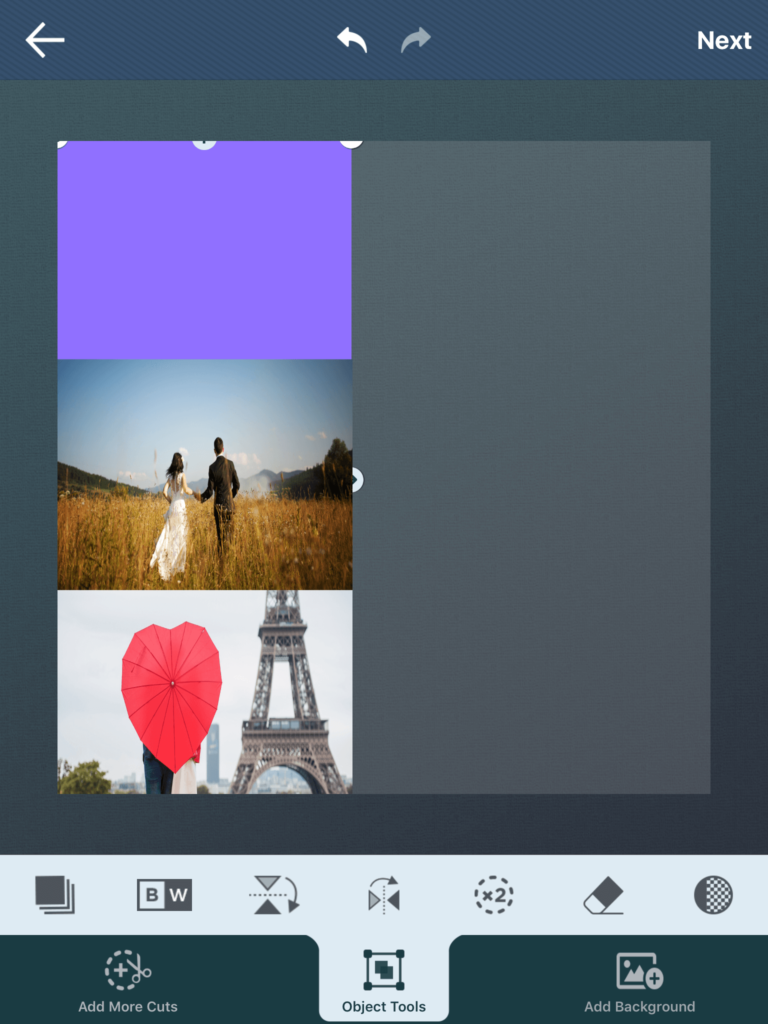
Once you’ve picked your color, crop it out to make it look like a block on the upper-left corner of your canvas. Make sure it’s aligned with your photo collage. After that, click on “Next” and add “Text.”
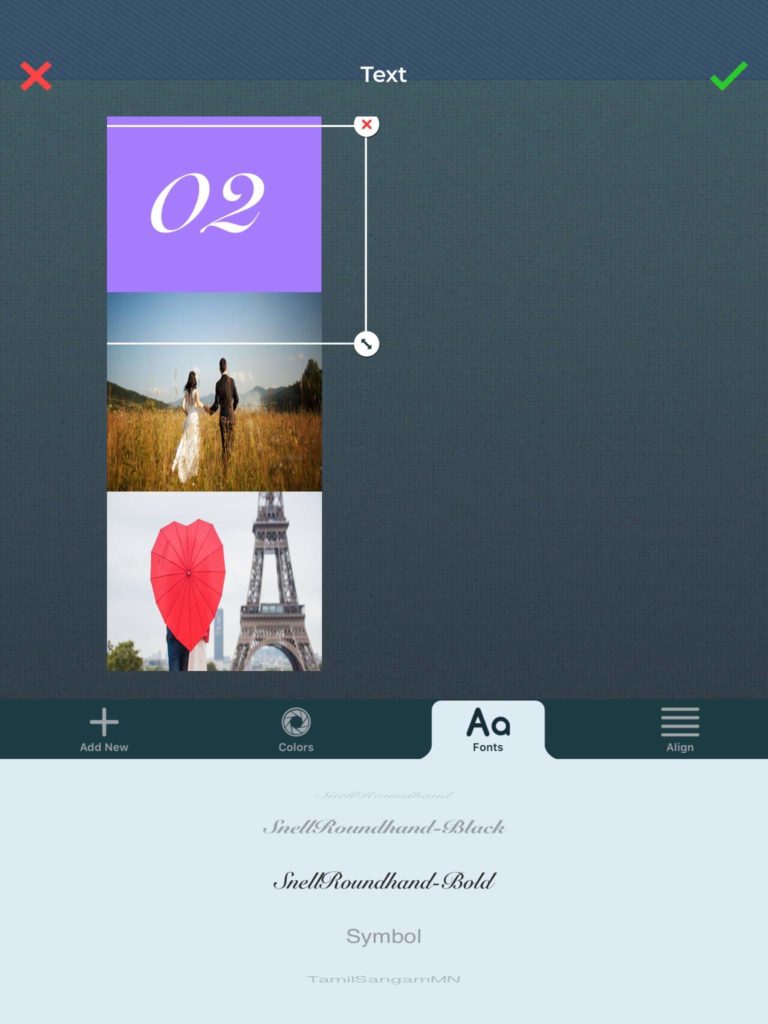
In this invitation, I put the date of the wedding, February 29, 2020, on numerics. Because who wouldn’t be thrilled to get married on a leap year?!
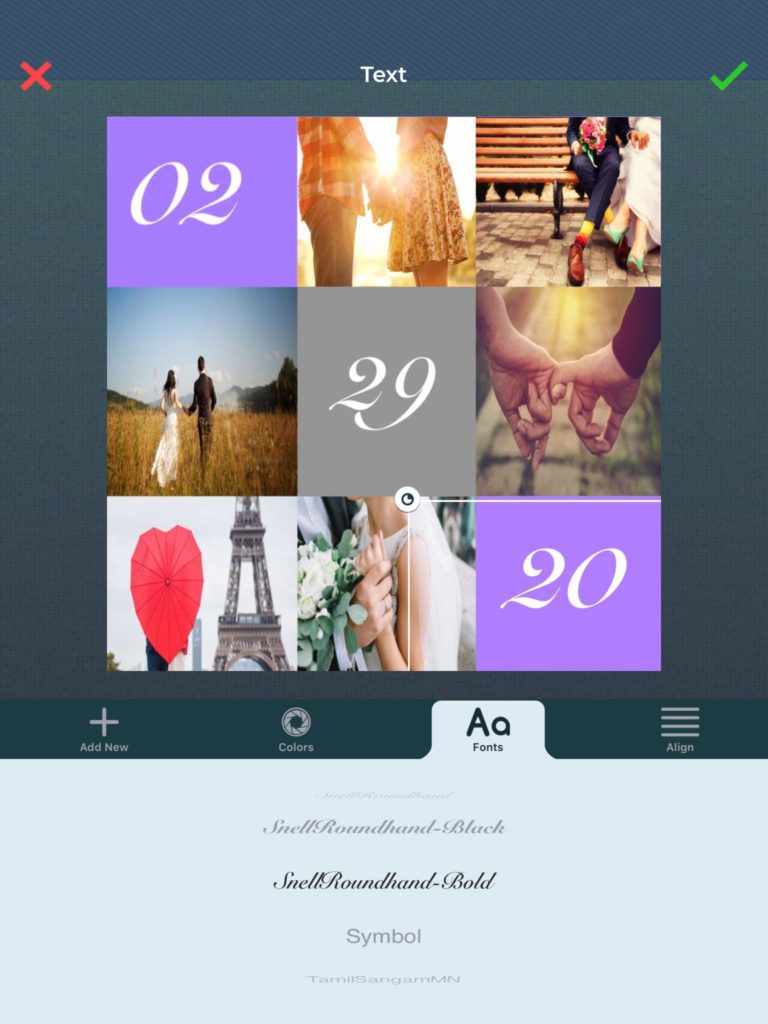
Well, that’s for me. But for you, pick any font and text font you like. For this one, I used SnellRoundhand-Bold on white. Save it afterward.
Step #4: Repeat the Pattern
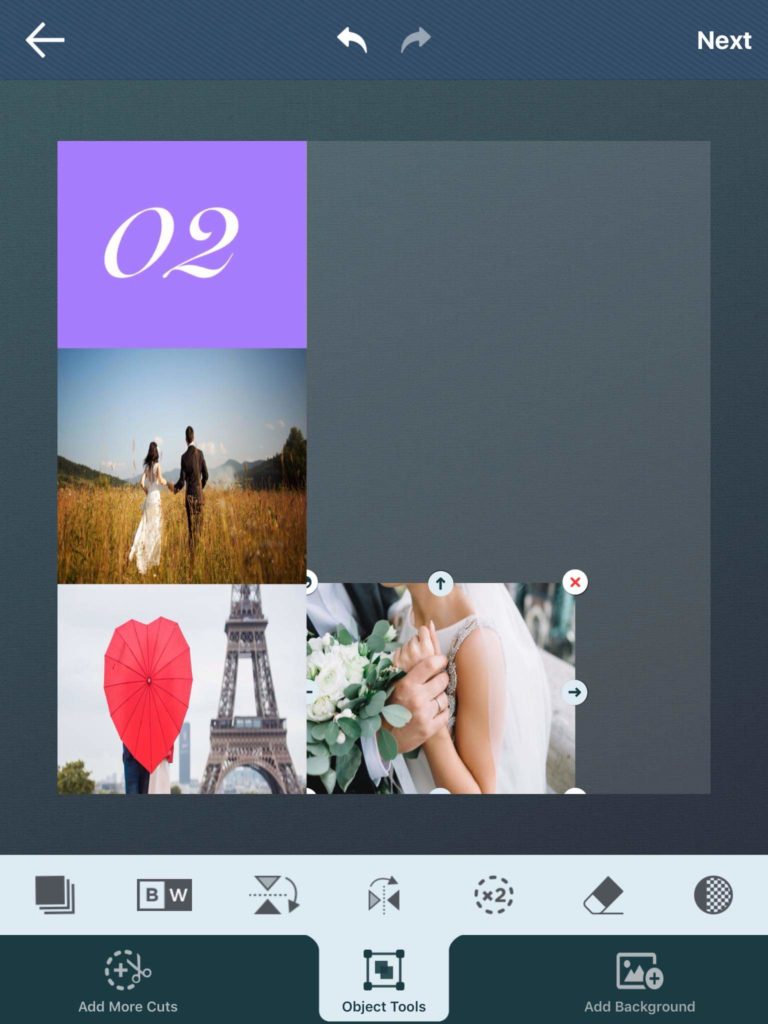
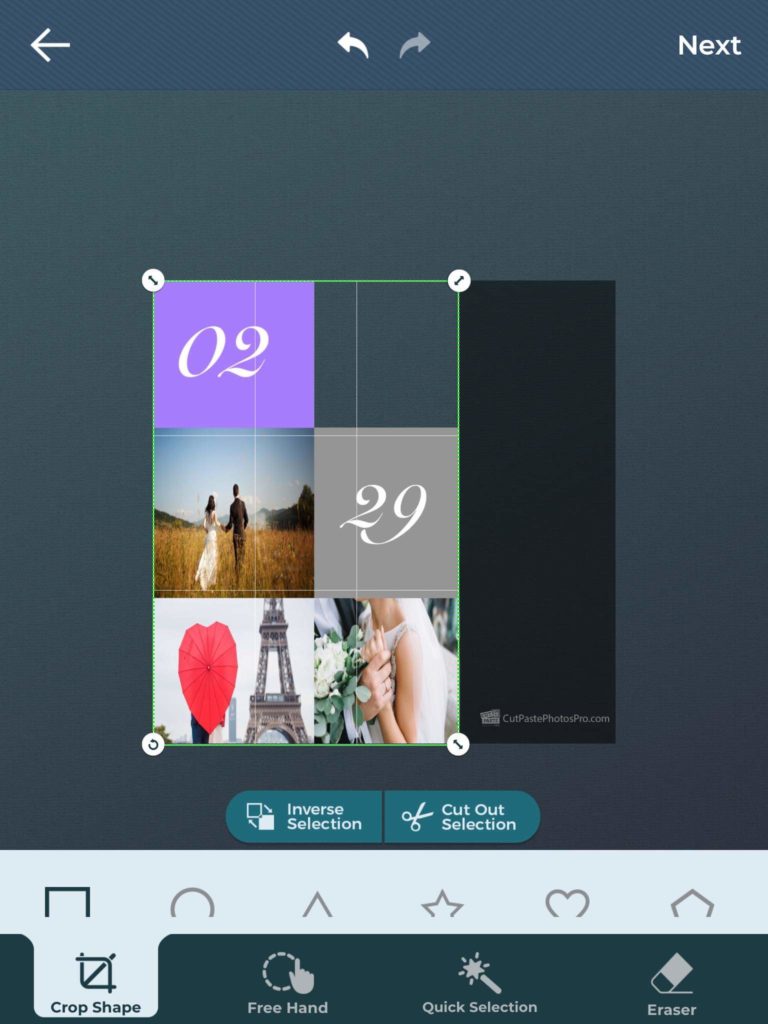
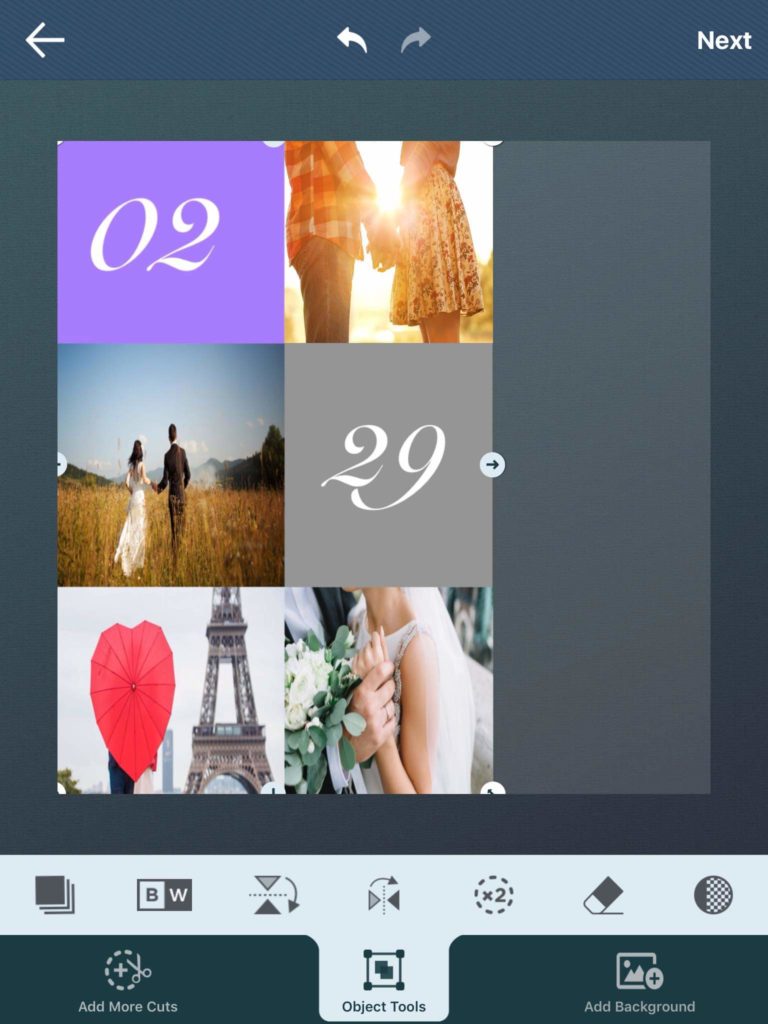
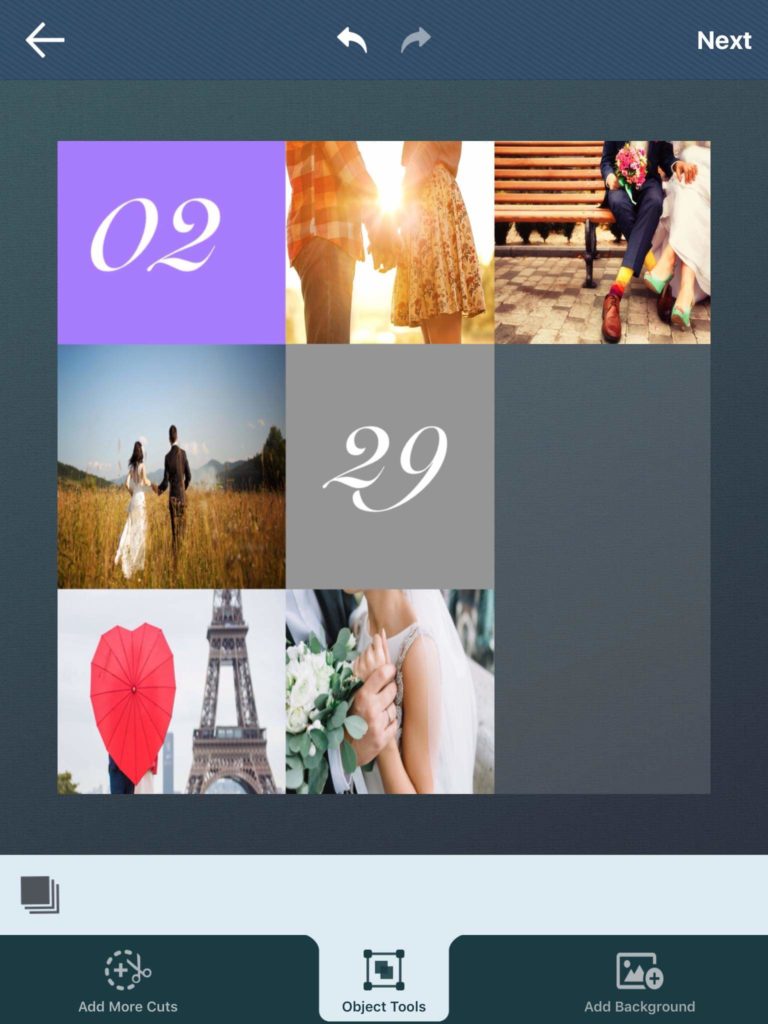
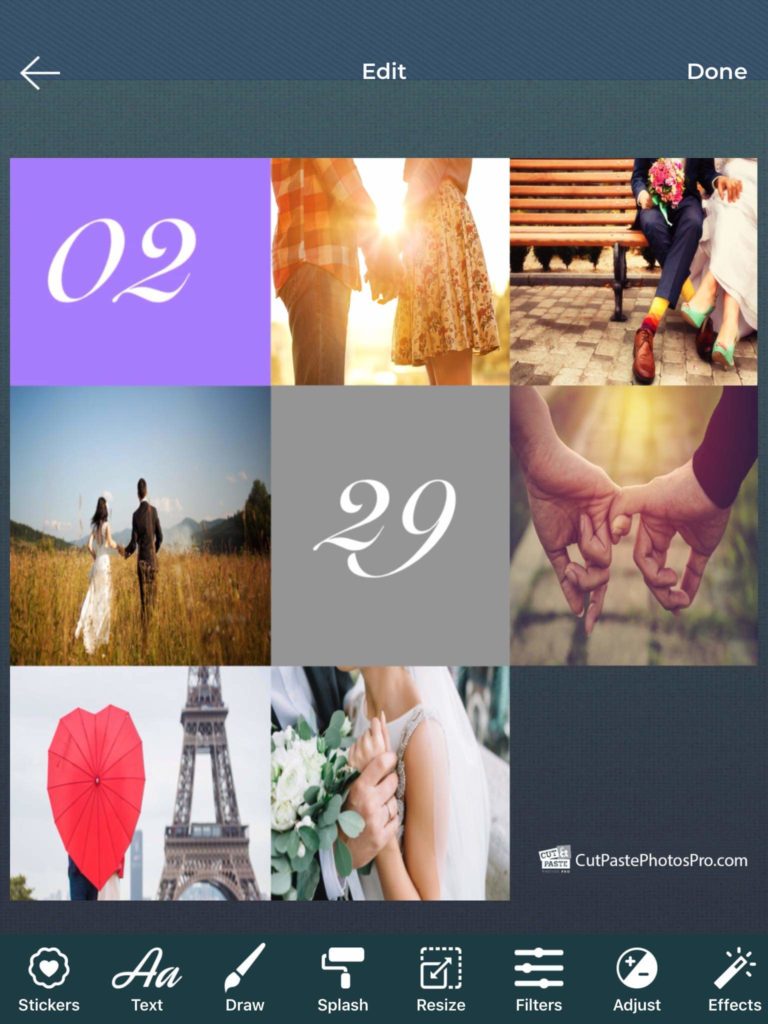
We’ll repeat the pattern from this point on. Choose the previous image, pick the next image as a background and then, crop it to become the next block.
Just a heads up, you have to add the blocks one by one since you can just use one background. We’re doing this because on the free version, we can also use just one cut per canvas. If you want to make your editing easier, you can start your subscription and get access to all Premium content.
Step #5: Add Your Event Details
We’re almost done! But not quite yet.
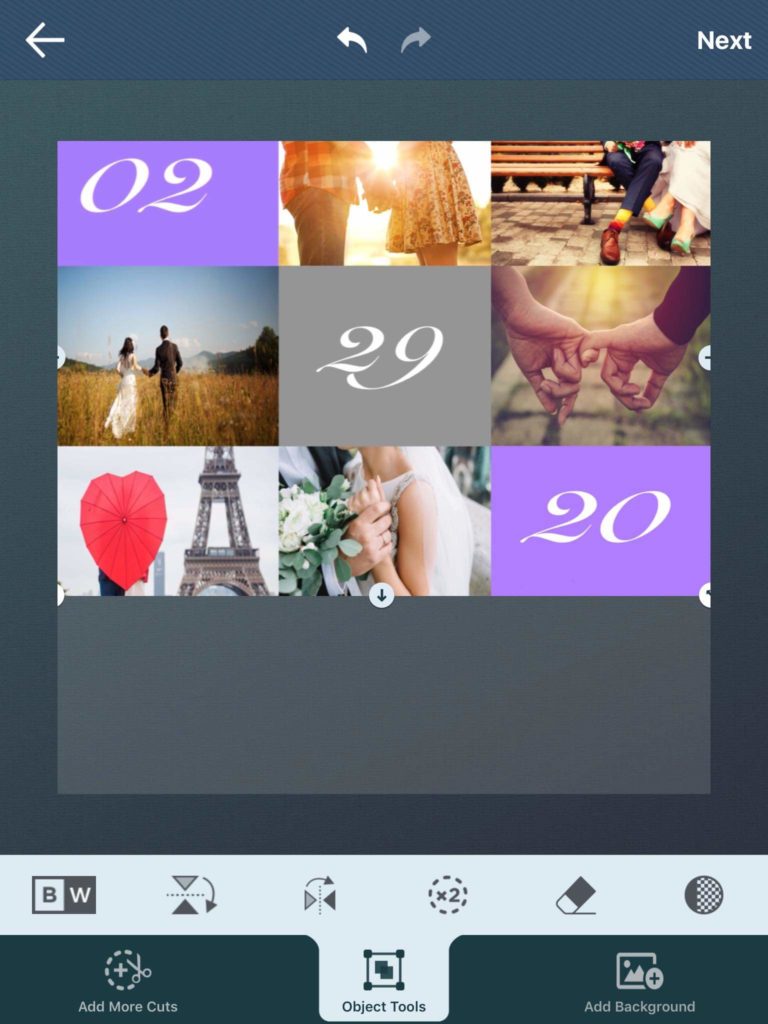
Once you’re done with your plaid pattern of pictures and color blocks, move it upwards. We need a bit of space down below to add your event details.
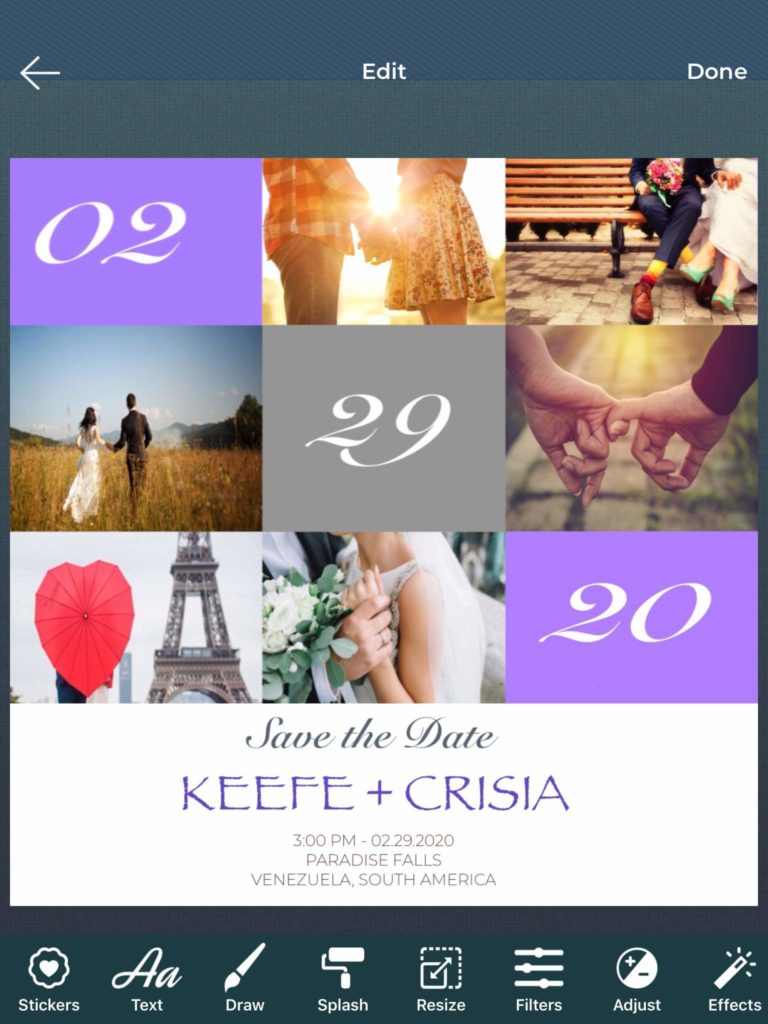
What I did here is I chose a plain white background. We’ve gone all out on our design, so we want to tone it down for this part.
Make sure you stick with your chosen color palette for the text color. Also, use the font styles you used on the color blocks. Or, if you want to diversify your font styles, make it as close to the ones you already used.
Step #6: Do Some Final Touches
Voila! Your wedding invitation is done! (sniffs)
But if you want to go a little extra, you can add some filters or effects. You can also adjust the brightness, hues, blur, or tone curve. Your call.
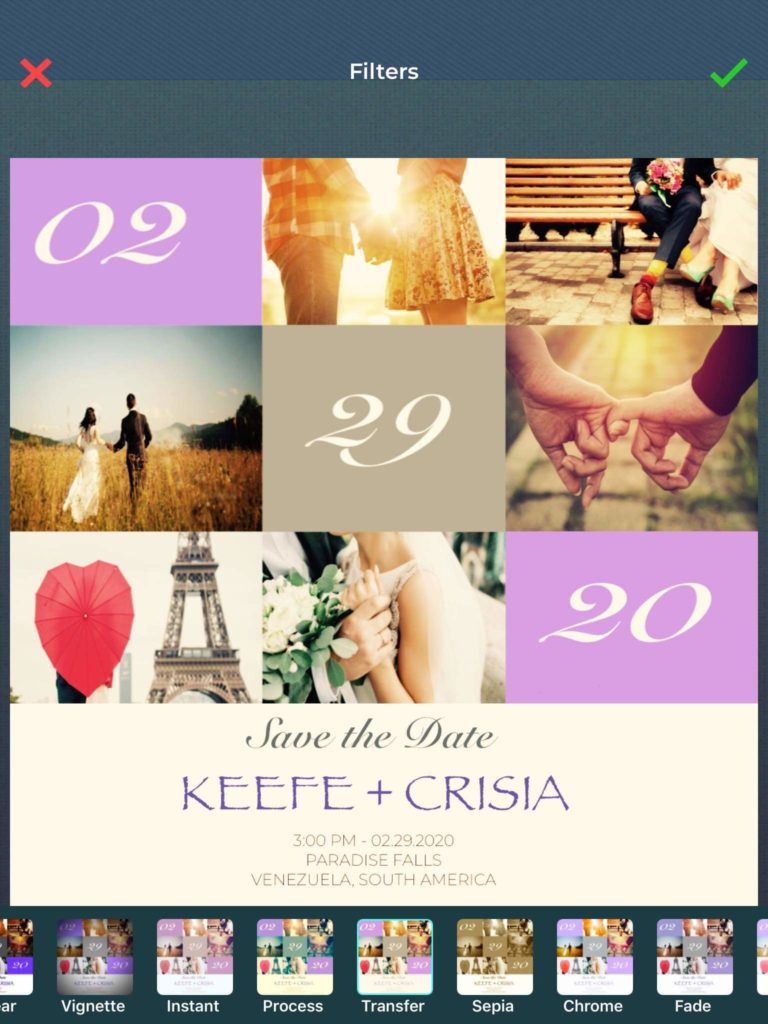
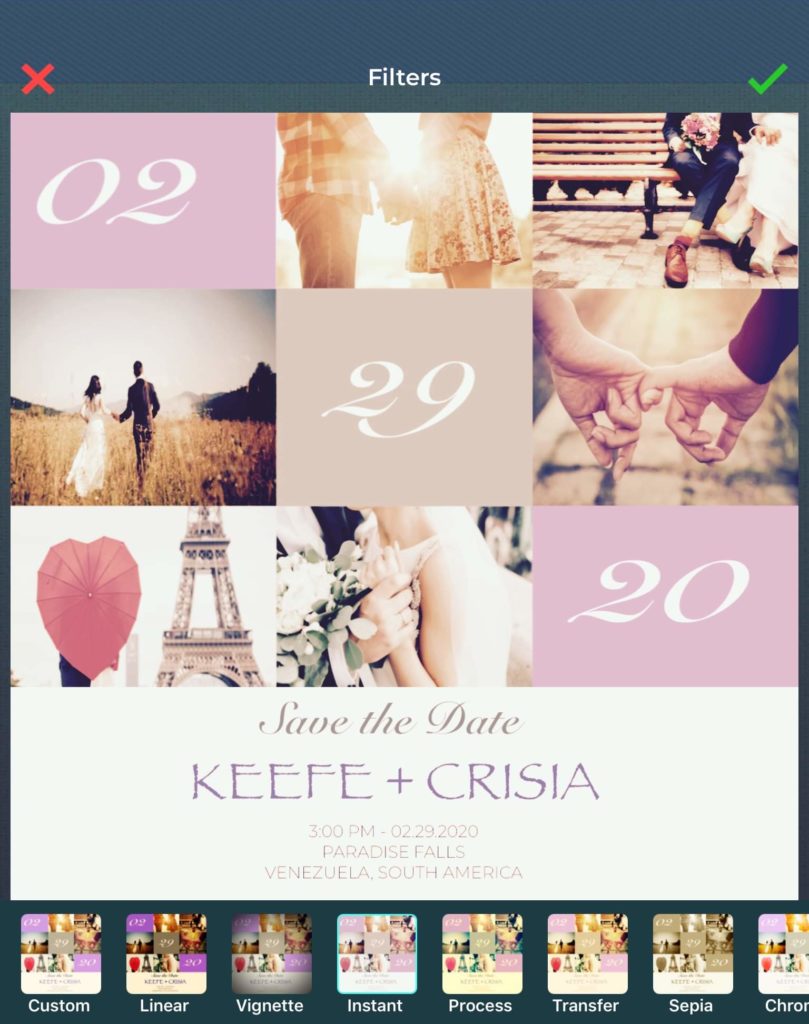
For this wedding invitation, I used the “Transfer” filter, then saved it. Now, here’s the catch. Even if you’ve saved and downloaded your edited image, you can still go back and re-edit it. You don’t believe me?
Here’s what I did. I’m kind of unsure if “Transfer” is the one. So, I tried to go back and tried another filter- “Instant.” And it worked! I was able to save two different versions of wedding invitations!
Step #7: Seal It With Love
Now that we’re done with the invitation let’s move one with the invitation envelopes.
We’ll go a little cutesy with this one. Instead of doing the outer part, we’ll design the inner lining of the invitation envelopes. How?
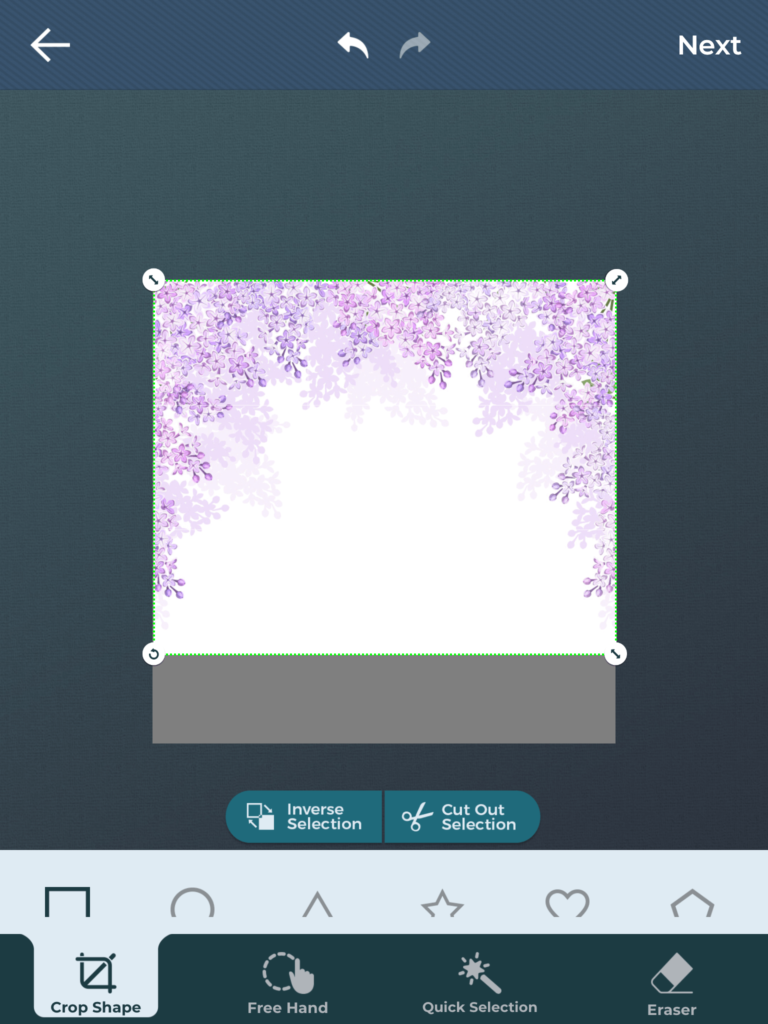
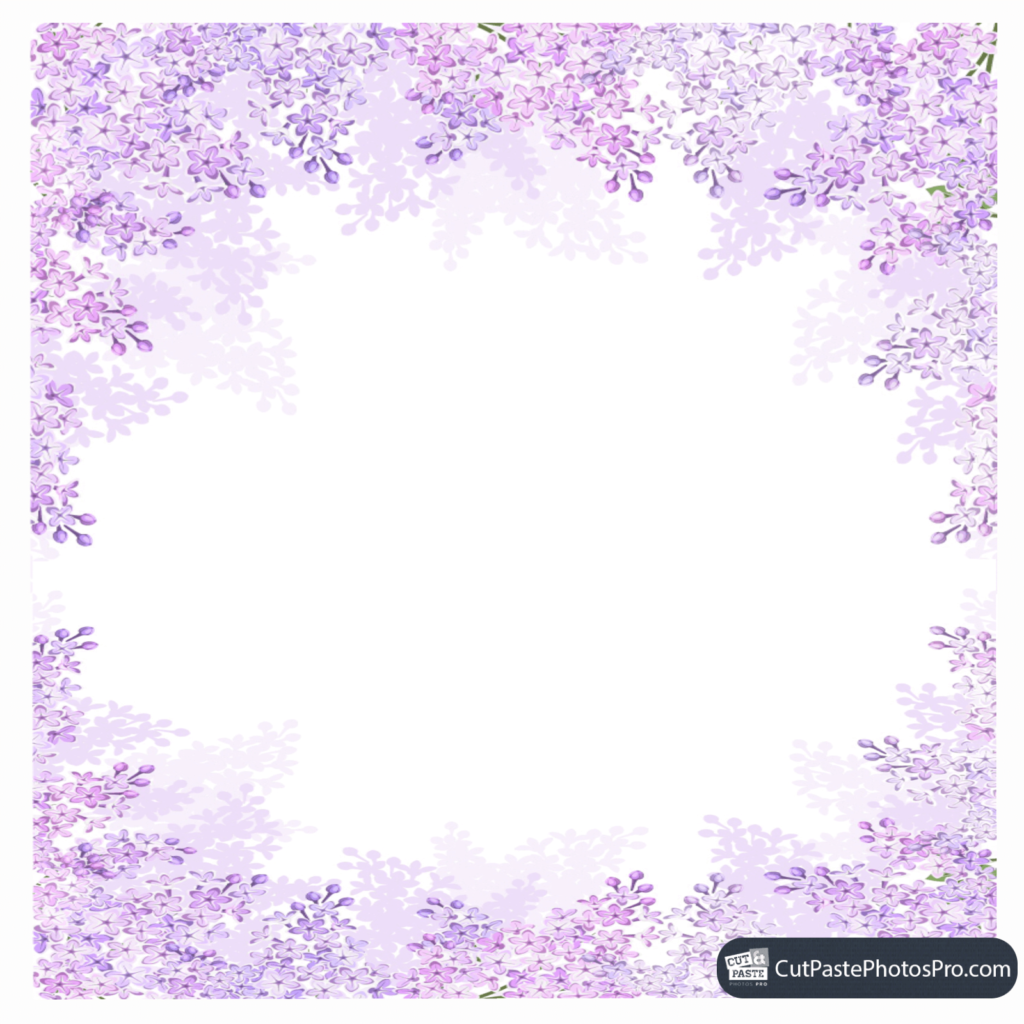
Here, I downloaded purple flowers that will serve as the background design. I cropped it out a bit. Then, doubled the image and flipped it over. After that, I joined them together to create a fully borderline lining. Lastly, I added a white background.
Since this is just a lining, you will have to choose a high-quality gray paper. For this kind of design, I suggest you use a thick, textured linen card-stock.
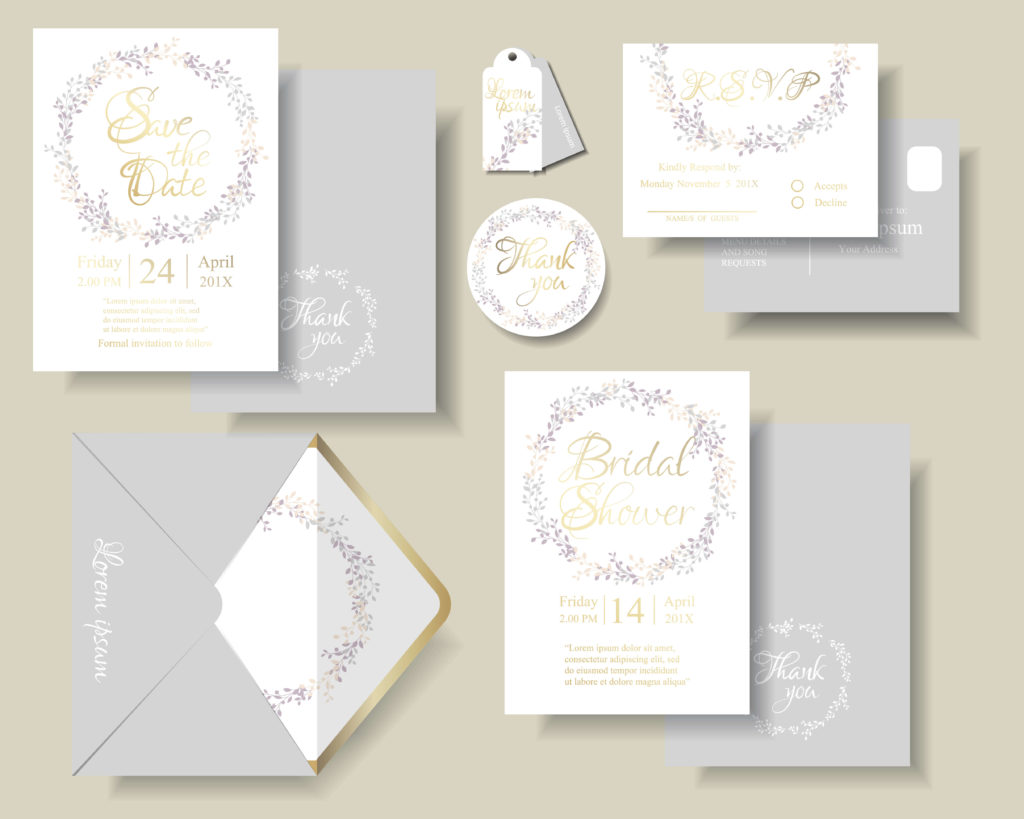
Depending on your visual style, consider the various textures and weights when you make your own invitations.
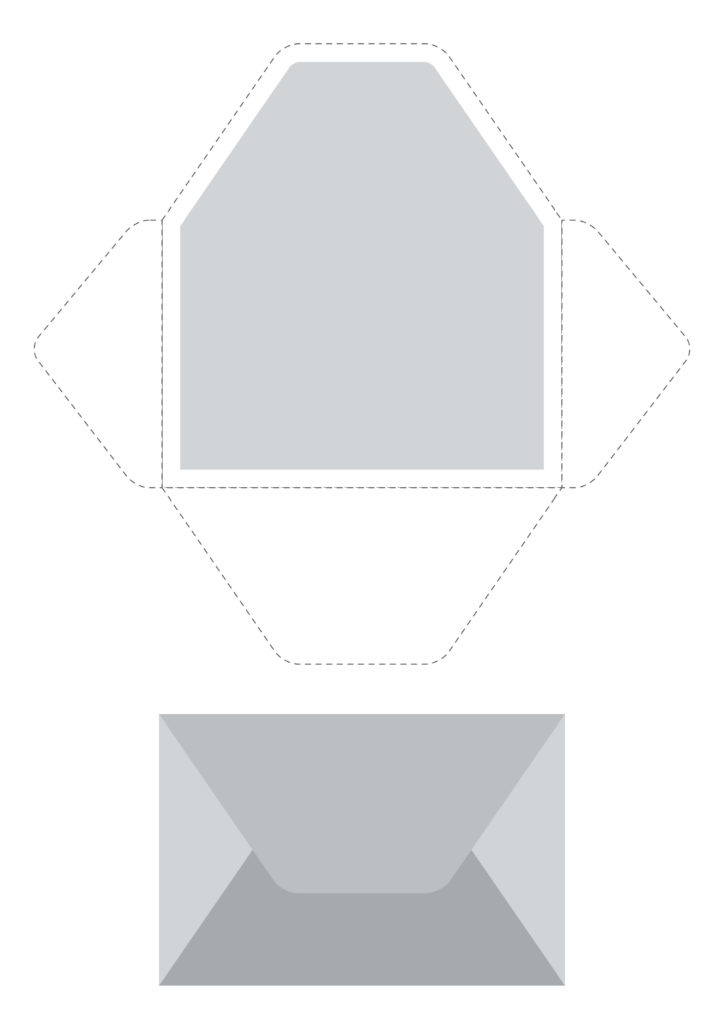
We also included here the cut you should do for your invitation envelopes. This will help you fold your envelopes easier and faster. You’re welcome. (wink!)
Designing invitations and invitation envelopes using the Cut Paste Photos App is fun and easy, right? So, are you all set? Or are there still lots of ideas going on in your mind?
No worries, we’ll help you out. Here are other designer tips on making your own invitations and invitation envelopes.
Tips On Making Your Dream Design Come To Life
1. Plan early. If you plan to make your own invitations, you would need to take some time to plan out your invitation designs. A rushed design is never a good design, even for a professional designer. So, give yourself time to think about your invitation’s layout, typography, illustration, and color schemes.
2. Determine your card dimension.
- 3.5 x 5 inches (RSVP card)
- 5.25 x 5.25 inches (square invitation)
- 4.25 x 5.5 inches (response card)
- 4.5 x 6.25 inches (response card)
- 5 x 7 inches (standard invitation)
- 5.5 x 7.5 inches (large invitation)
- 6.5 x 8.75 inches (large invitation)
- 4 x 9.25 inches (thin invitation)
3. Keep it classic. Never get too font-happy and bombard your card with lots of different font styles. Be sure to choose one that fits the essence of your event. Also, a good rule of thumb: stick to three or fewer fonts to keep things legible.
4. Add a personal touch. Yes, we designed your invitation and invitation envelopes with the Cut Paste app. But that doesn’t mean you can’t add your personal touch in it. Once these are printed, you can hand-write your guests’ names on each invitation. You can either do this with calligraphy or by splashing some watercolor art.
5. Send your thanks. Once the event ends, you can show your appreciation to those who attended, supported your event, or brought gifts by sending out thank you notes. These “Thank You” notes don’t have to be as elaborate as the invitation and invitation envelopes we made. But you can still use the Cut Paste app to design them.
Related Questions
What size envelope do you need for a 5×7 invitation?
The A7 is the perfect size for the invitation envelopes with 5x 7 photos, cards, invitations, and more. These A7 envelopes are also called 5×7 Envelopes because they are the best match for 5×7 cards.
What is a good paperweight for invitations?
Cardstock weighs from 45 lbs to 200 lbs. Keep in mind, though, that a sheet of 80 lb text paper is totally different compared to 80 lb cardstock paper. Also, if the basic weight is heavier, then the sheet is thicker. And, the thicker the sheet, the more impressive it will feel.