What is the Tone Curve?
The tone curve represents the sum of all tones in an image. It’s normally calculated by the camera according to the specific environment and lighting conditions. But in this regard, Cut Paste Photos App allows you to personally manipulate the ton curve of your image.
How to use the Tone Curve in Cut and Paste Photos App?
- First, upload your desired photo that you want to edit.
- Crop the picture using the specialized cropping tool, here are tips on how you can crop the image using Cut Paste Photos App.
- Once you’re done, tap Next.
- Next, scroll to the very end of all the tools and choose the Tone Curve tool
- Start adjusting the five points to edit your image.
- Experiment using the different points until you find the best effects for your photo.
- Tap on Done.
- A pop-up will appear asking you to add animated effects on your photo. If you want to add effects, click here. If not, press No and proceed to save.
- Save your photo on your device or directly upload your image directly to any social media platform you prefer. Don’t forget to tag us so that we can add your stunning photo in our gallery!
If you’re still not sure how to use the Tone Curve, here are simple Cut Paste Photo Tips on how you can properly use this amazing tool.
The Proper Use of the Tone Curve
Tone curve is normally split into 3 areas, including Shadows, Mid-tones and Highlights. In Cut Paste Photos Pro, we use 5 points targeting a wider range of adjustment. The two top adjustment areas are for highlights, the middle dot is for the mid-tone, and the last two are for shadow adjustments. This curve can be linear, with ups and downs or constant. Here are some useful tips on how to use this curve for editing pictures on a mobile:
Drag it up and down
The most basic thing that you can do using your mobile Photo Editing app is to drag the curve up or down. Dragging the curve down will normally make the photo darker. While dragging it up will make it brighter. Creating a symphony of ups and downs will include different changes in your image. The changes include stronger shadows, better overall lighting effects and more.
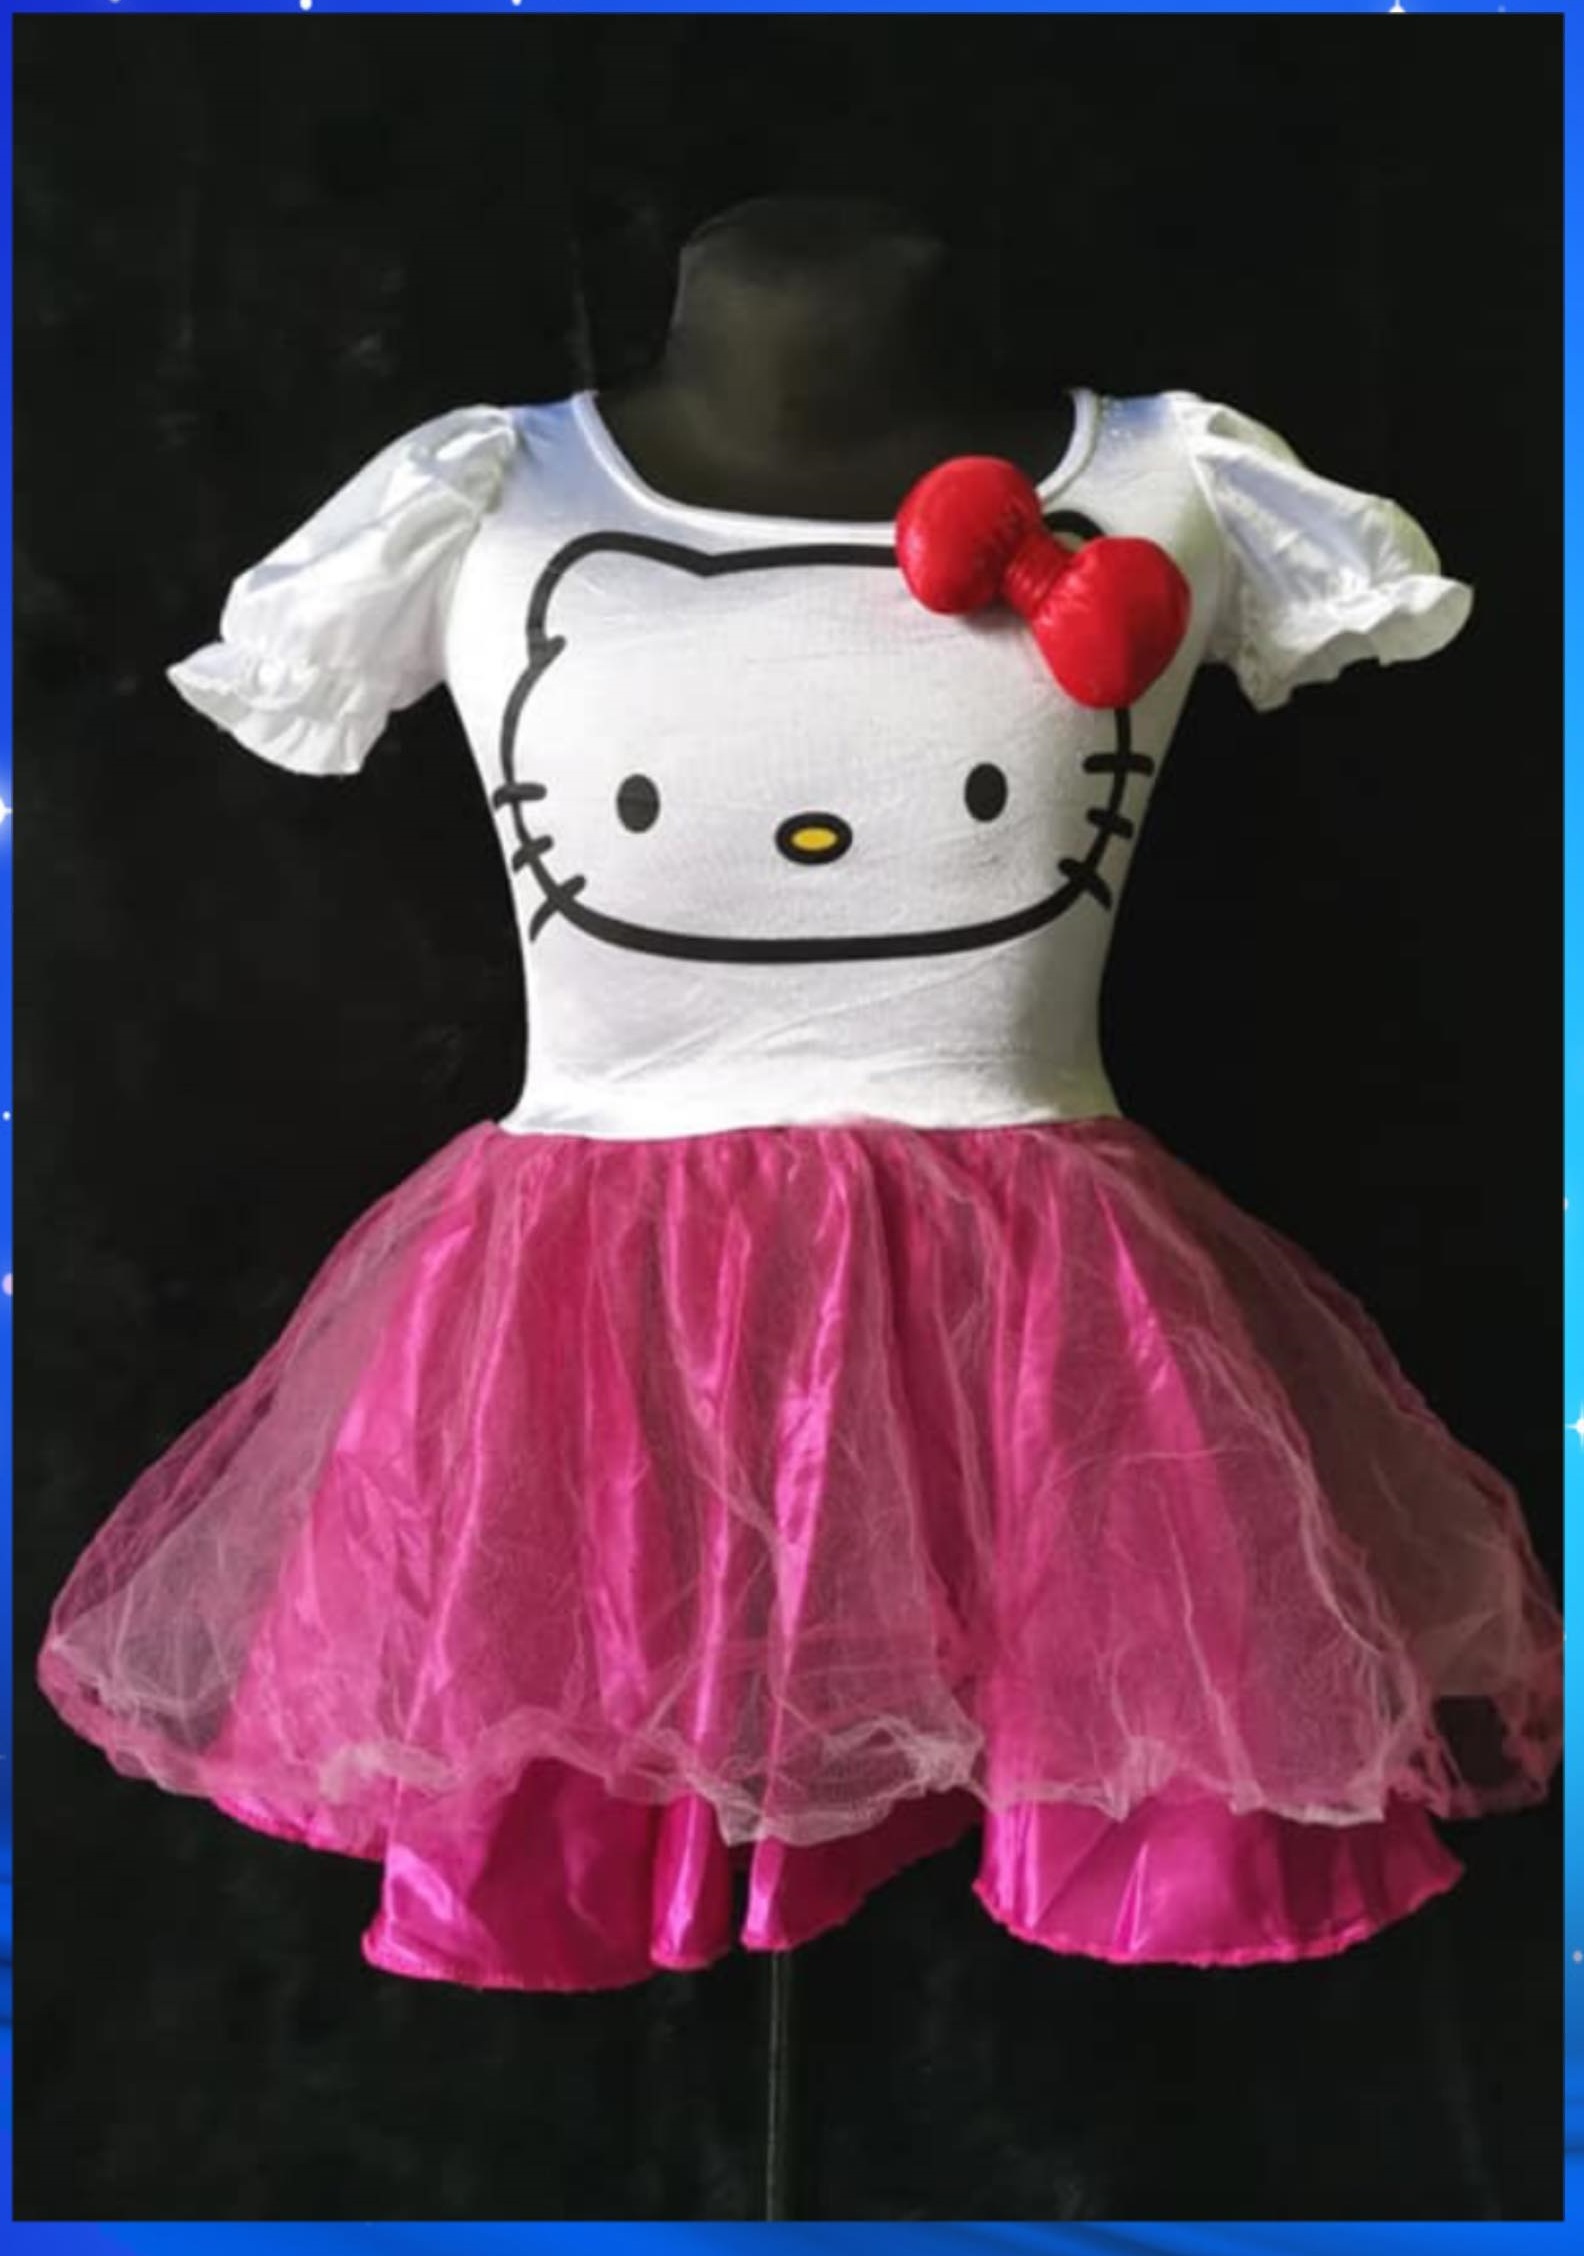
Let’s use this image as an example:

Making the image pop out
Most users want to achieve the effect of their image popping out and being more noticeable. It is especially true when it comes to different objects or persons being the main focus of the photo. You can achieve this with the help of the tone curve. In order to do this, try creating a slight “S” curve, by modelling it accordingly. The result will result in darker shadows. There will also be more light in the bright sections of the image and better overall contrast.

Low contrast curve
Those who want a special B&W (Black and White) photo can still play with the curve in order to obtain the desired effect. It’s possible to obtain this effect by applying the B&W filter first or reducing the color saturation. Then, start creating an inverted “S” curve but one which is not prominent. Set the shadow lower in the graph and drag the highlights higher to the left.

Creating a dramatic effect
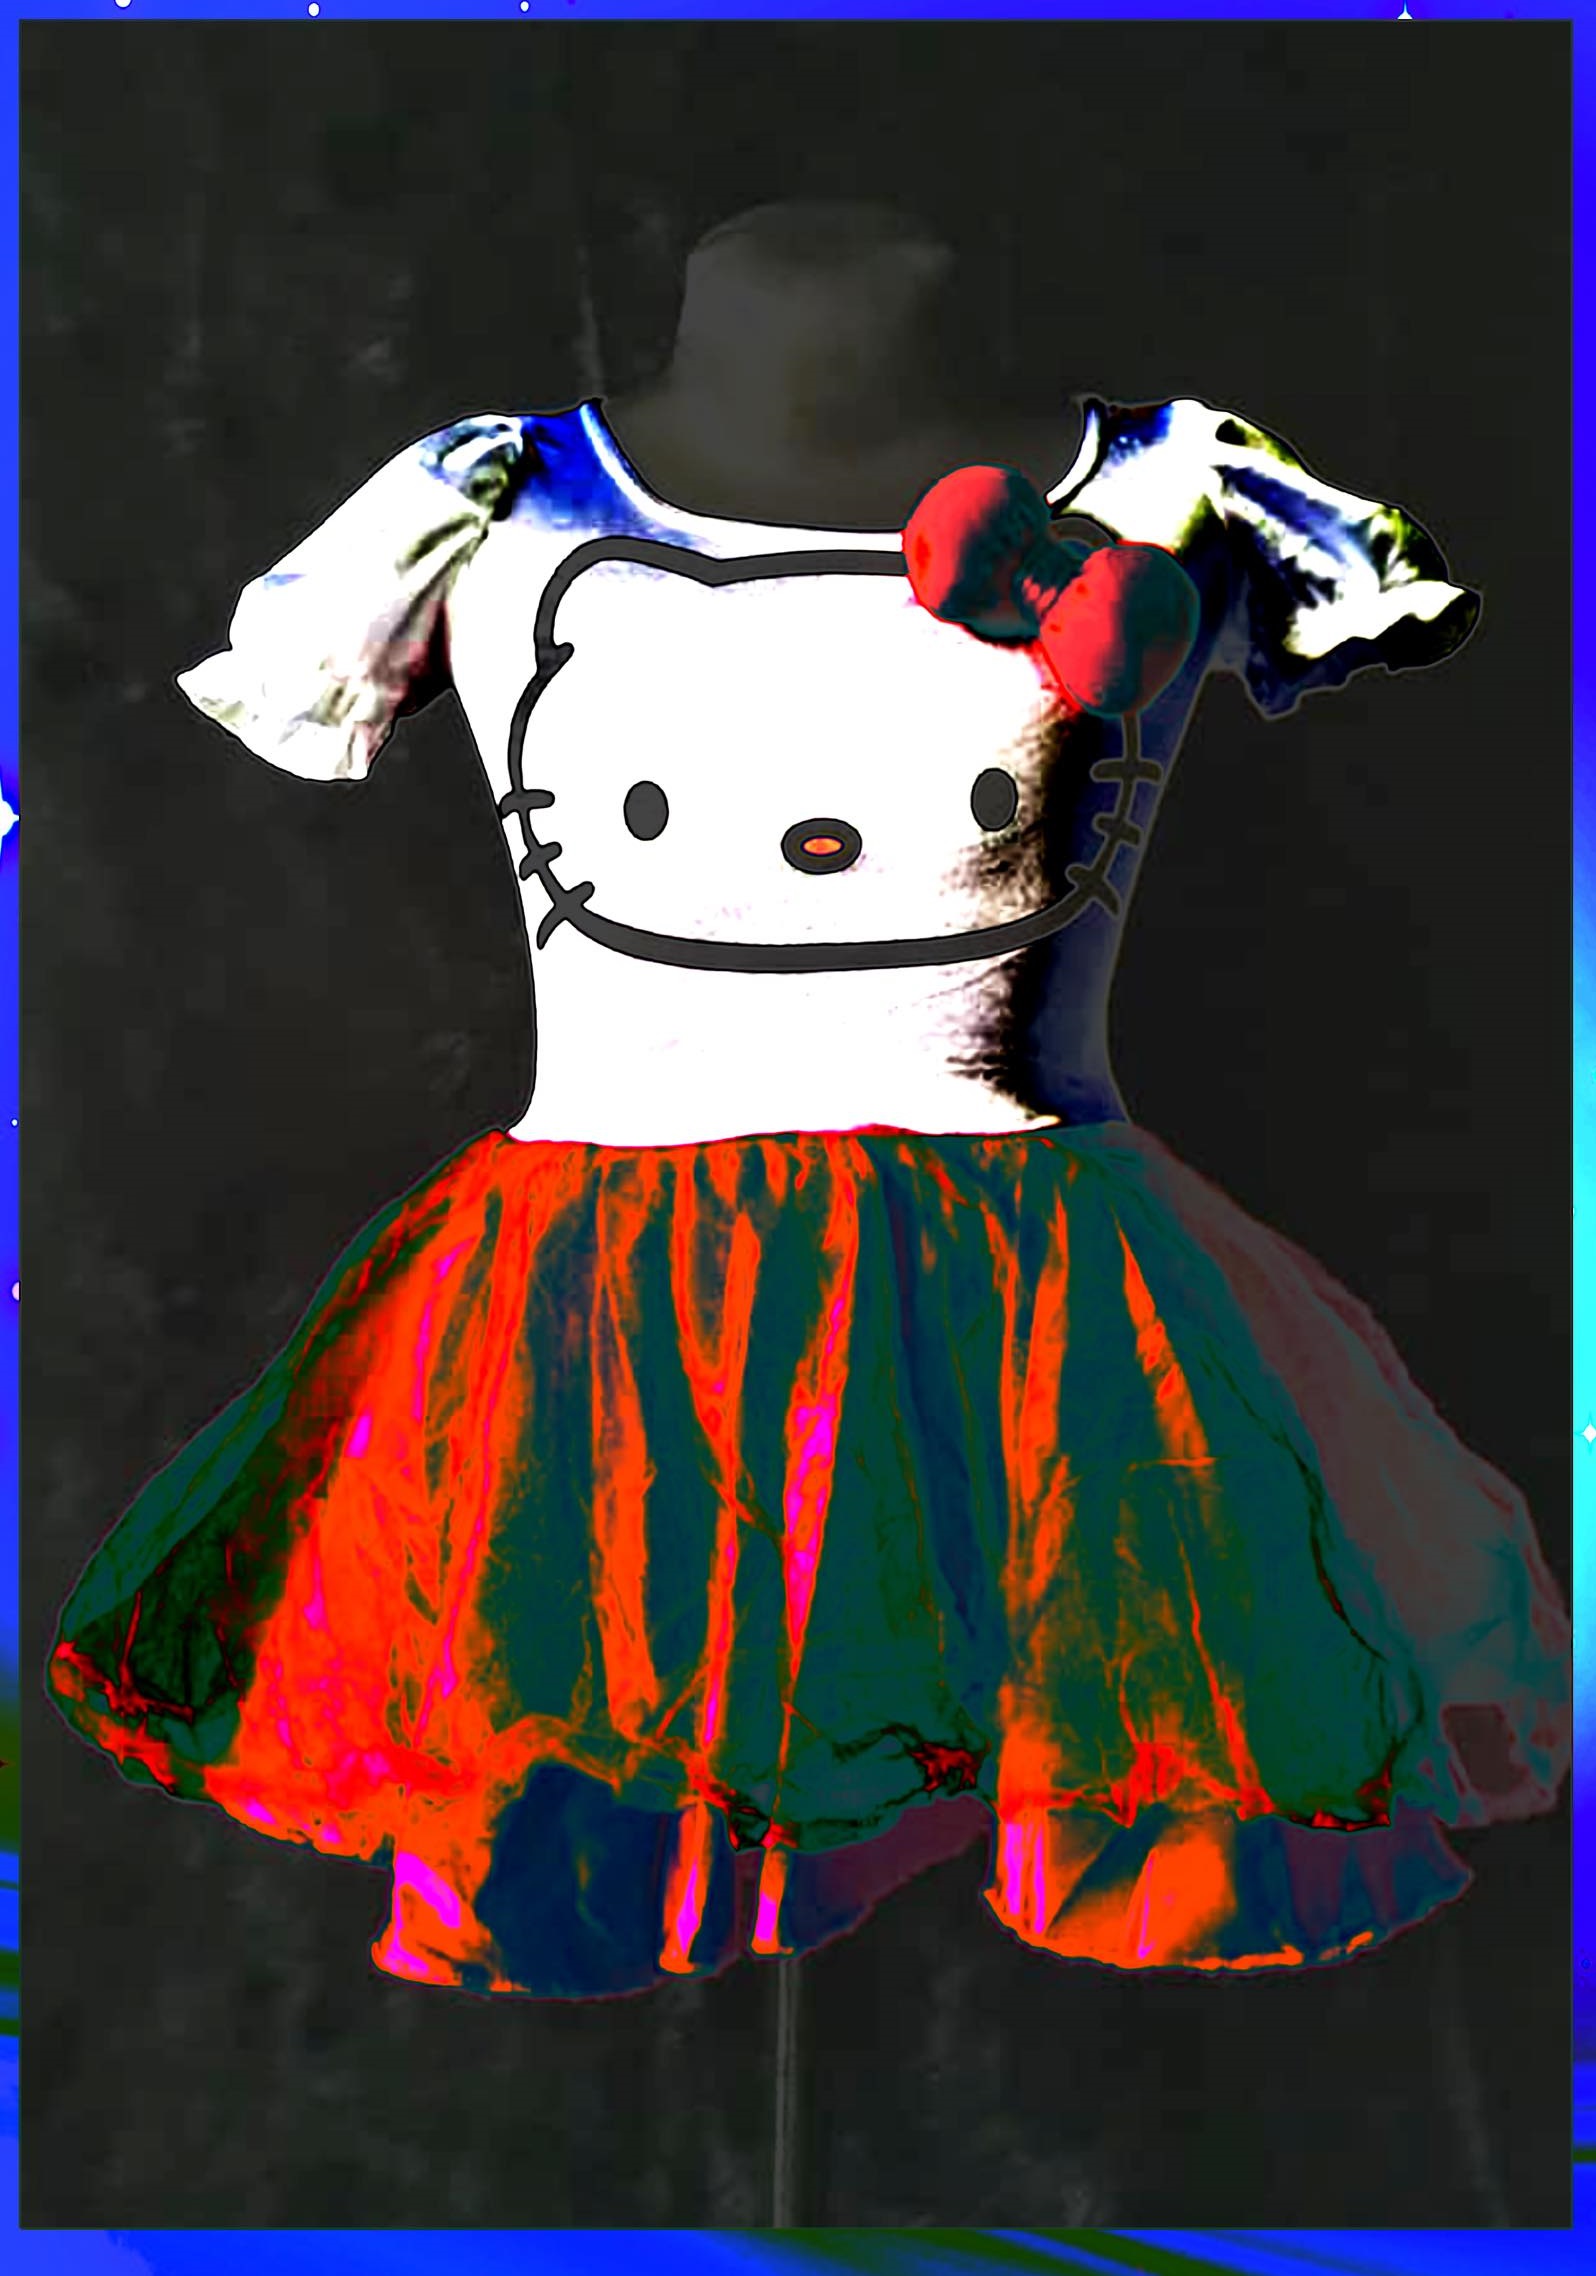
Users who want to obtain a dramatic effect with specific color highlights and clear black shadows should try and create a high sloping curve. You can do this with the upper and bottom sections extended to a sharp inverted curve. As a result, some images will even appear “bloody”, horrific, and a bit scary. This is ideal for those wanting to obtain Halloween photos for example.

Experiment on your own
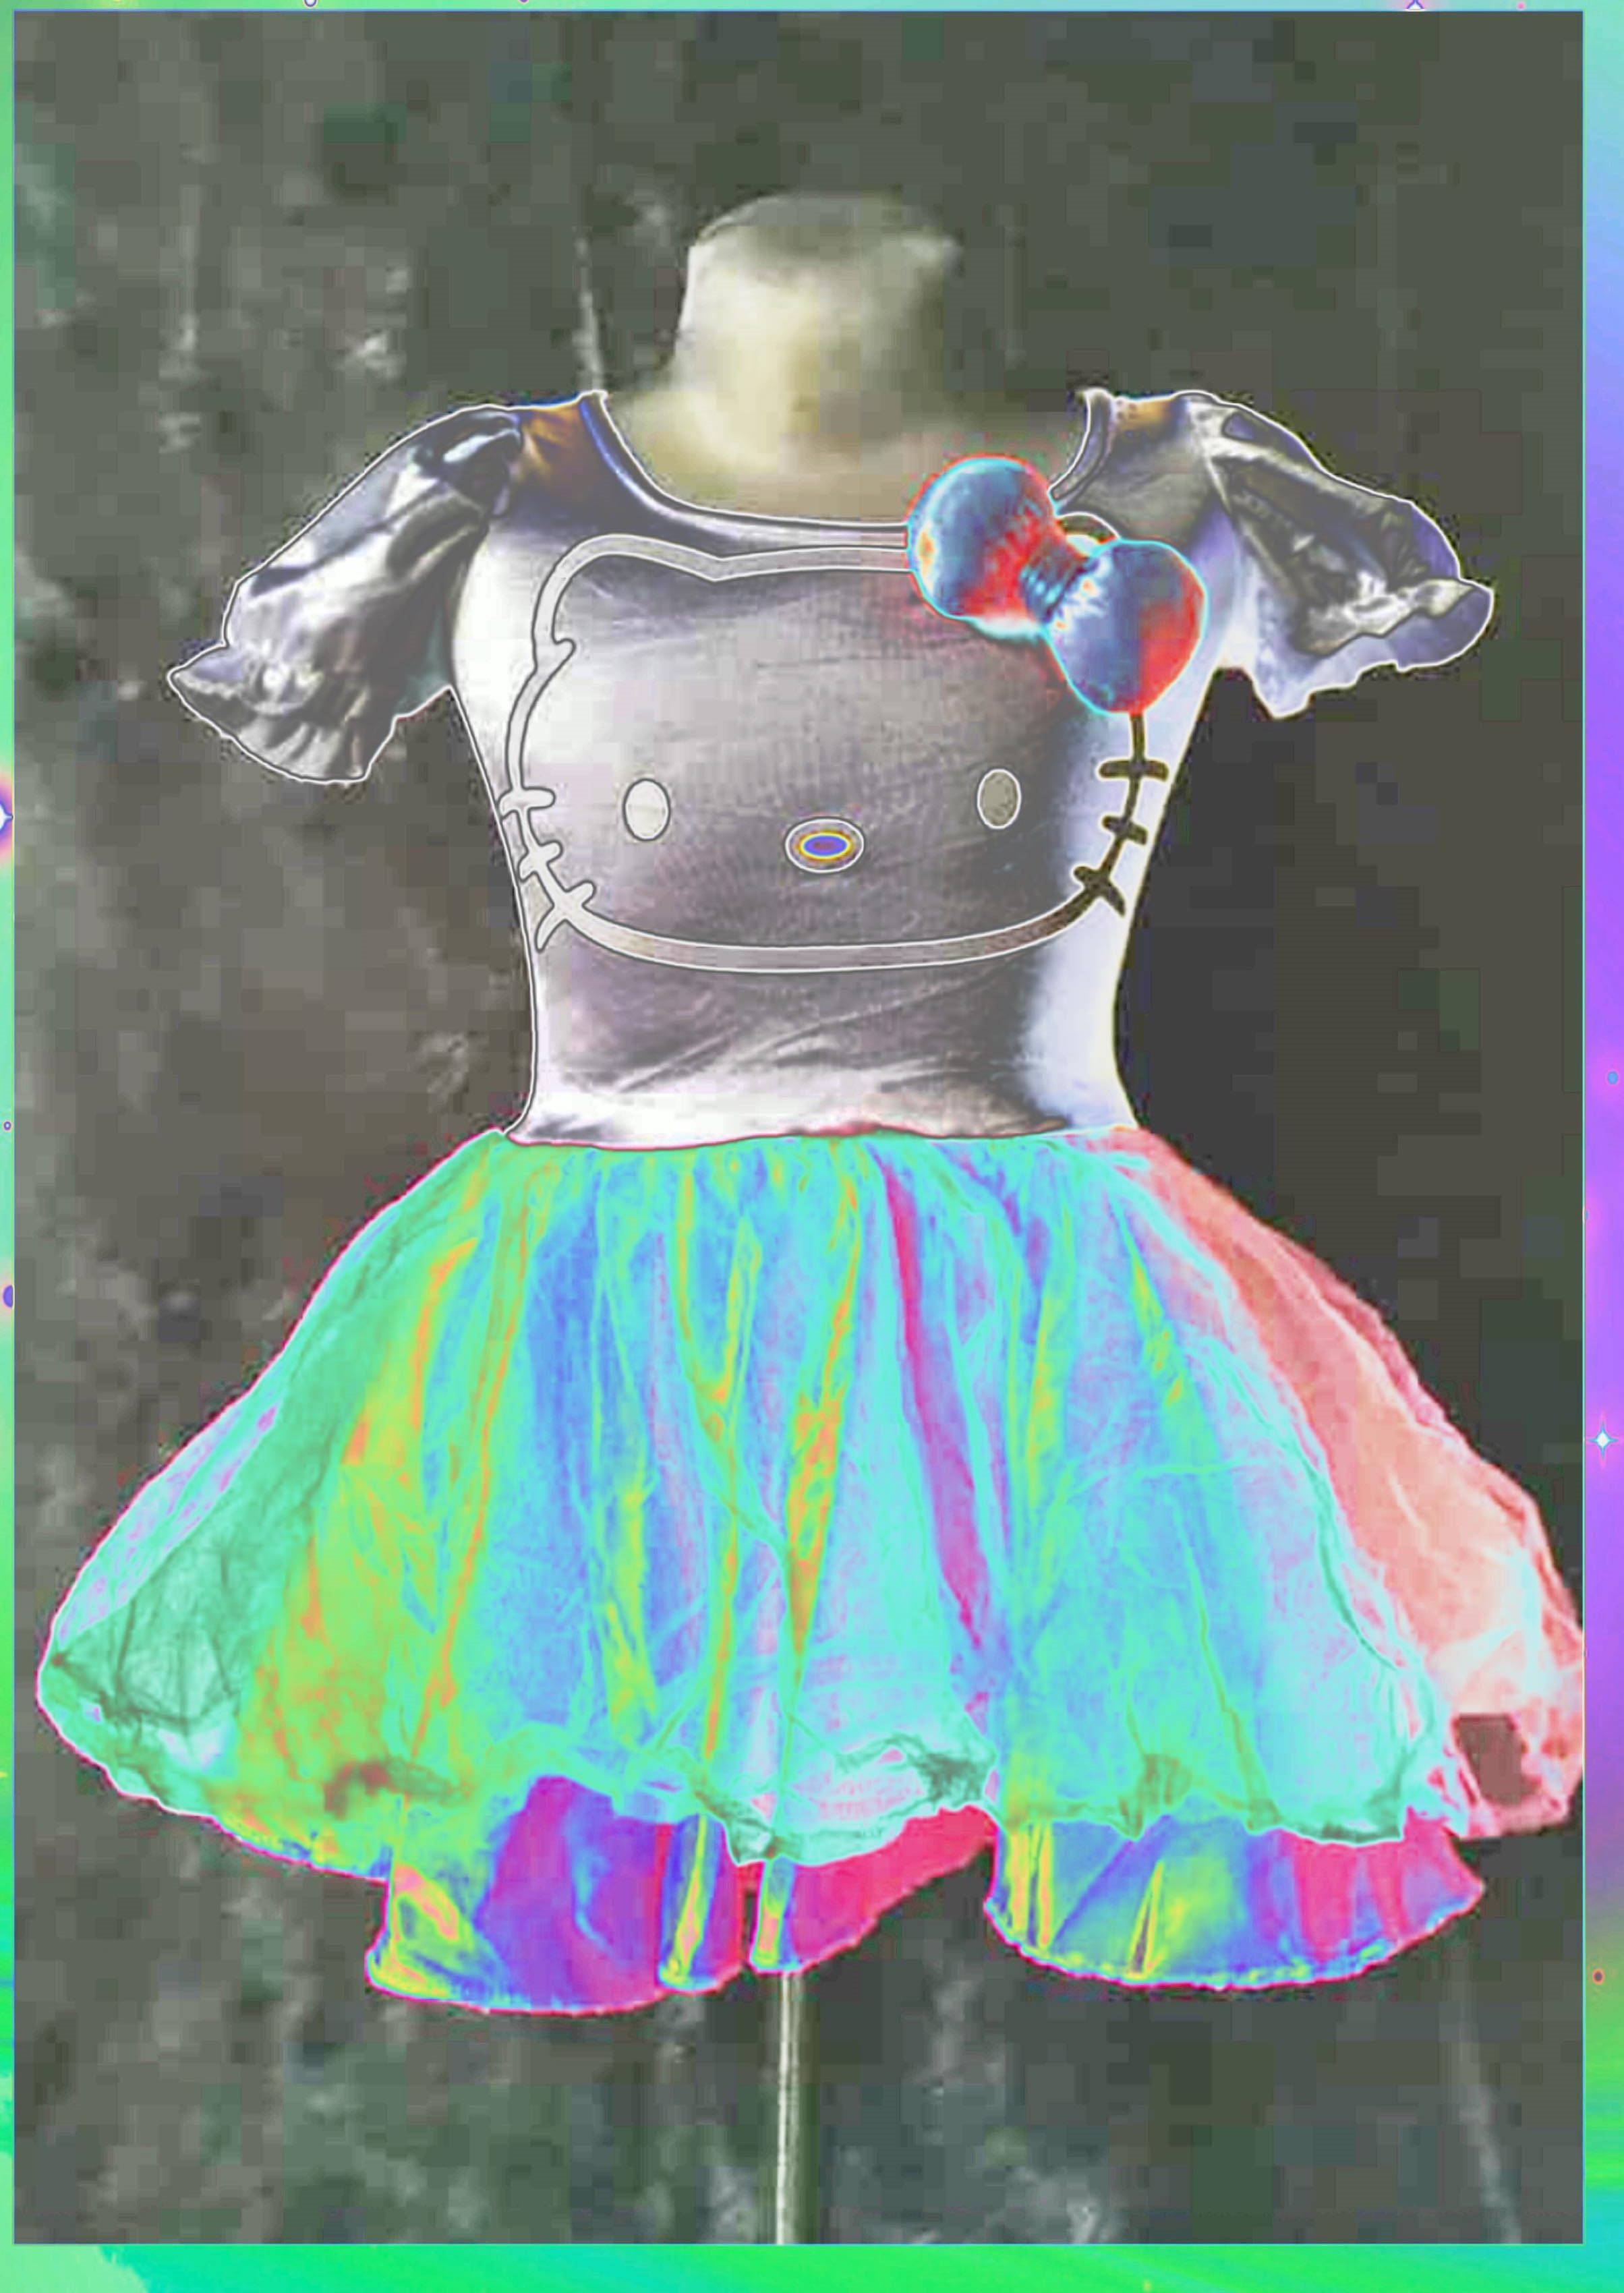
There is no ideal setting when it comes to the specified curve. Therefore, it’s best to experiment and see which adjustments work best for you and your photo. Some users have even obtained excellent results creating a zigzag pattern in the curve. So, it all depends on the conditions and subjects present in the photo.
