Why You Need Eraser Tool (And How to Use It)
Do you have a photo that you want the background removed? In this tutorial, we will teach you about the eraser tool, why you need it, and how to use it using the CutPaste Photos Pro app.
Worry not, the process is super easy and straightforward. You don’t need to be an expert to pull off an amazingly edited photo or install pricey and complicated software to do so.
You can erase the background of any of your photos using a powerful photo editing app.
Why You Need the Eraser Tool

The eraser tool is a powerful editing tool that allows you to remove unnecessary or irrelevant parts of your photo. It comes handy in many situations and serves several benefits, too.
With the eraser tool, you don’t have to retake your photos or go the extra mile just to achieve your desired results.
For example, if you need a decent ID photo but do not have the time (or money) to go to a photo studio, then you can create your own using only your phone and, of course, the incredible eraser tool.
ID photos usually require a single color background. To achieve that, take a decent portrait of your face. Make sure you have good lighting. Don’t mind your background, you can fix that later using the eraser tool.
After taking a portrait, you can use the eraser tool to remove your background and replace it with a solid color backdrop. It’s effective and super efficient!
The eraser tool is also helpful if you want to create vectors (or, in other words, photos with transparent background). You can use vectors in various things—for your social media page, blog post, or video content!
Really, there are so many things you can do with the help of eraser tools.
You Don’t Need Complex Photo Editing Software
Not long ago, the only way to fix photos is to consult photo editors, because they are adept at making image adjustments.
They are experts when it comes to using photo-editing software. And there’s no doubt in that. They spent many days mastering editing programs, reading textbooks, and performing trial-and-errors.
Before, if you want to ace at editing photos, you have to learn it by reading giant textbooks, purchasing expensive editing software, taking pricey webinars, and buying a computer set, which mostly cost an arm and a leg.
But years later, technology went to drastic improvement. Smartphones allowed everyone to perform tasks that only bulky computers can do.
You don’t need to consult the experts to edit your photos. There’s also no need to learn complicated editing software or purchase a computer set just to modify your photos.
All you need is your smartphone, a powerful photo-editing app, and some techniques that we are about to teach you.
How to Use the Eraser Tool Using CutPaste Photos Pro App
CutPaste Photos Pro is an advanced photo editing app that features a comprehensive set of tools to modify your photos and achieve your desired results.
Here are the steps on how to use the eraser tool in the CutPaste Photos Pro app:
Step 1: Download CutPaste Photos Pro app
You need to be equipped with a powerful photo editor that can perform editing tasks seamlessly. The CutPaste Photos Pro app is a free-to-download app for iOS devices running iOS 11.0 and later versions.
Look for the app on the App Store or simply visit this link to download the app.

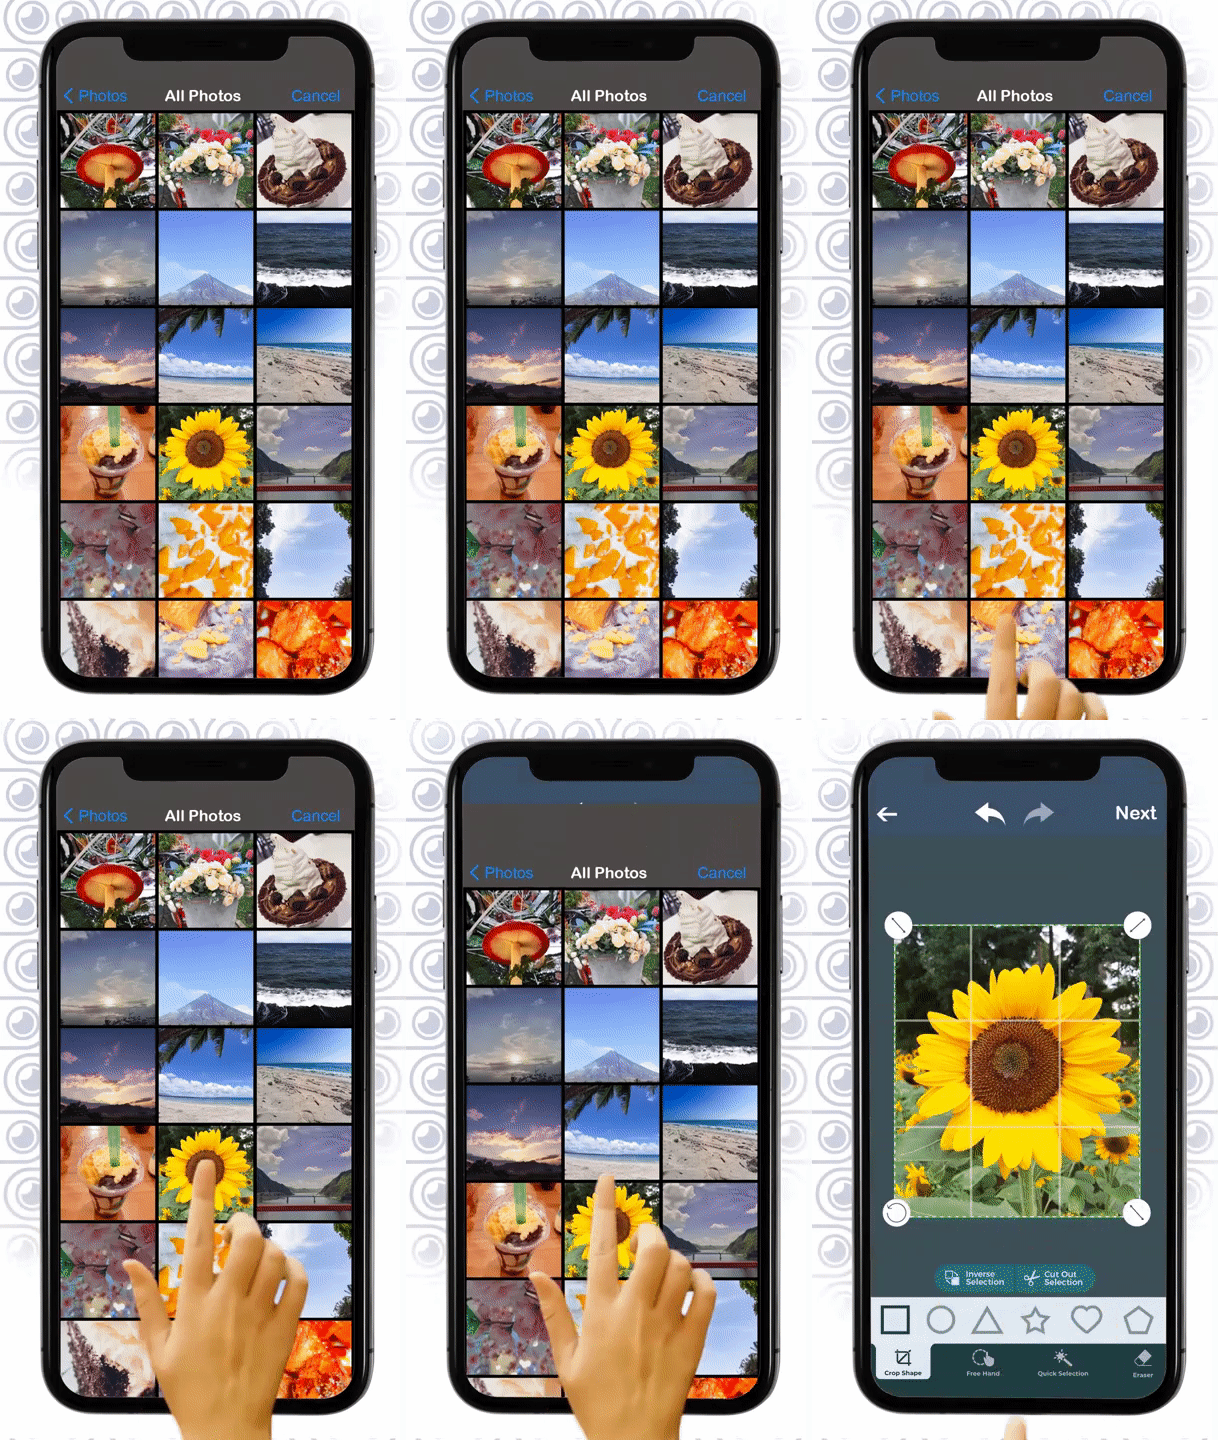
Step 2: Take a photo or grab one from your gallery
The homepage of the app will show you options to either take a photo within the app or grab one from your Camera Roll. This means CutPaste Photos Pro can let you edit newly taken photos or old ones. Isn’t that convenient?

Step 3: Select the Eraser tool
After choosing a photo, you will be directed to the first phase of editing. At the bottom of your screen are the basic tools: Crop, Freehand, Quick Selection, and Eraser.
Then, tap on the Eraser tool.

Step 4: Adjust the offset and glide your finger over your image
After selecting the Eraser tool, you will see two options with sliders: Size and Offset.
The offset defines how the edge will be modified. The level of your offset is crucial to get a refined result.
Move the slider to the left to reduce the intensity. It will move the edge inwards. On the other hand, move the slider to the right to increase the offset intensity. This will result in the edge to move outwards.
After adjusting the offset level, start to glide your finger over your photo. Outline the subject that you want to keep.

Step 5: Adjust the eraser size and start erasing the background
Once you are done outlining your subject, adjust the size by moving the slider. The larger the eraser, the bigger the portion it can erase. Pick a large eraser size to delete the background more quickly.
Use a smaller eraser size to delete intricate details.
After selecting the eraser size, start erasing the background of your photo. Then, select Next on the top right corner.
If the result is not what you wanted, you can always step back by tapping the undo button on the top part of your screen. Don’t worry—it’s okay if you don’t get it right the first time. You’ll get better at it as you continue to practice this method.

Step 6: Make more needed adjustments
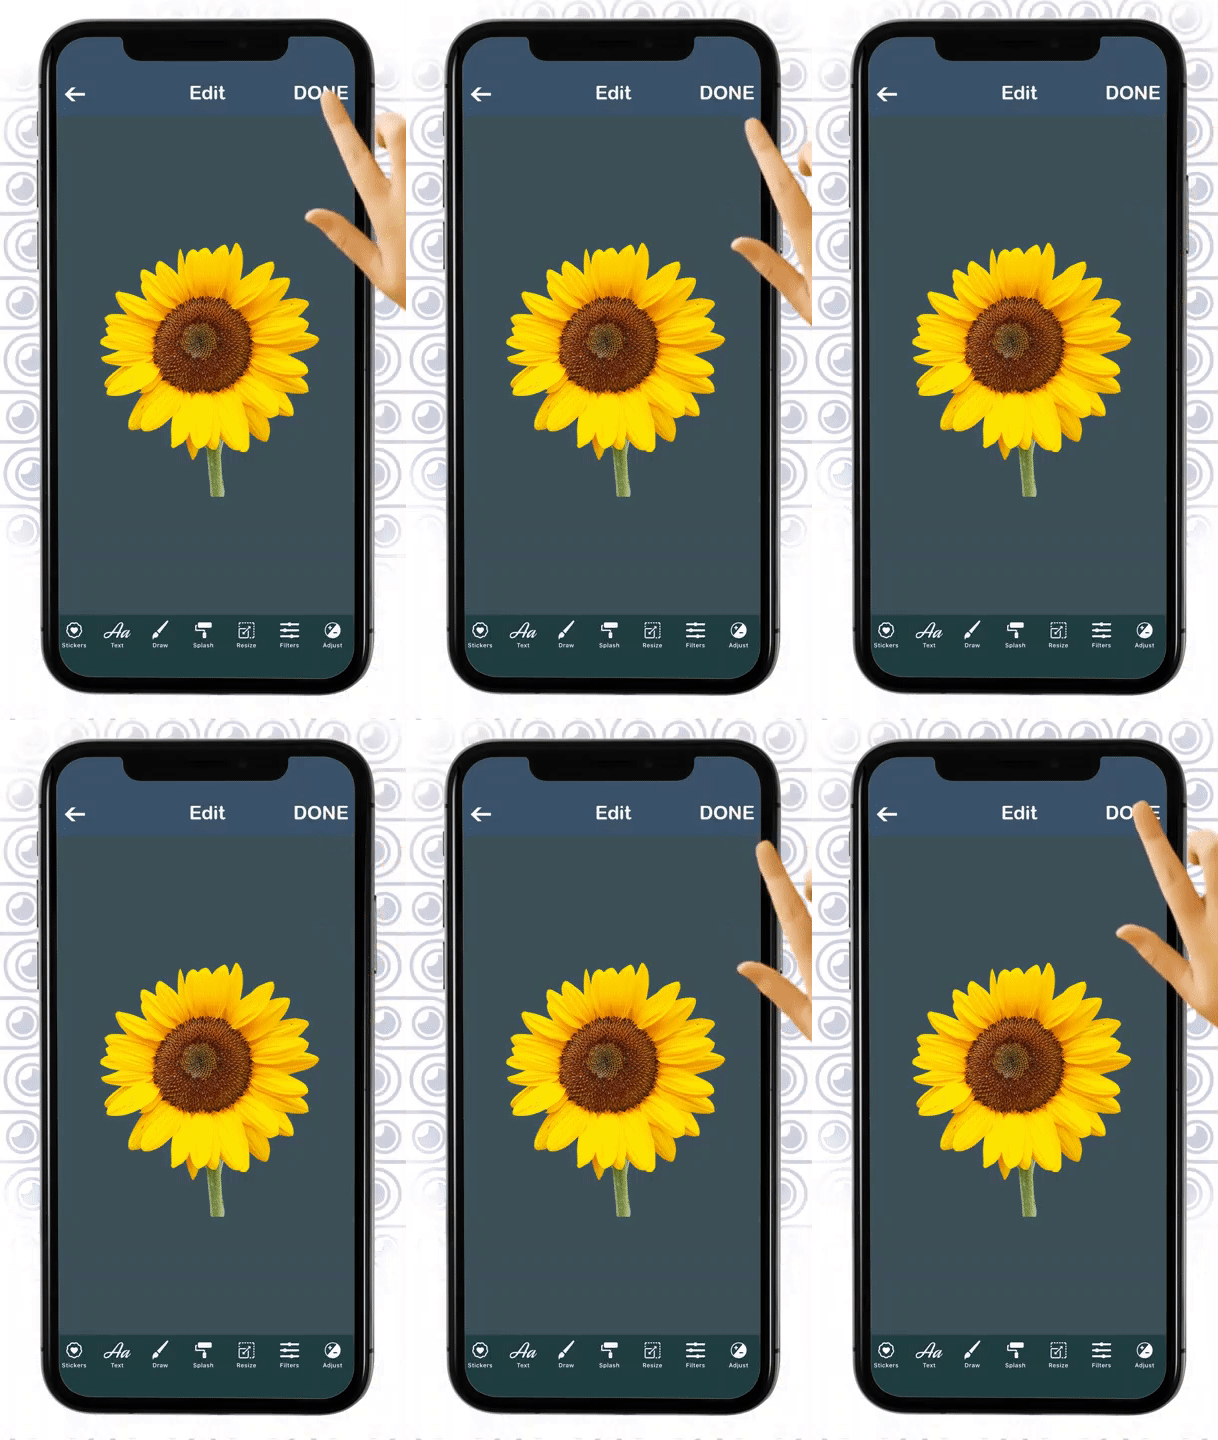
When you are done erasing the background, the app will direct you to the next editing phase. You will see more editing tools, such as Text, Stickers, Filters, and more.
Do not be afraid to experiment with these tools. You can tweak your photos exactly the way you want it to be. Add dramatic filters, texts, funny stickers, or animated effects to make your photo more exciting.
You can also enhance the quality of your photo by adjusting the contrast, color, brightness, saturation, sharpness, and more. You can always rely on the Undo button to fix your mistakes.

Step 7: Save your work or share it with your friends
The last step is to save your work—and much like everything else with this CutPaste Photos Pro app, saving your edited photo is as easy as ABC.
Save your work in your gallery with just a tap. You can also share your photo directly with your friends, either through your social media platforms, email, messaging apps, or text message.
More Than Just an Eraser Tool
Aside from the eraser tool, CutPaste Photos Pro is also equipped with many other editing tools that you can rely on.
Using the app, you can scan your documents, create stunning videos, build a fantastic collage, and curate an impactful slideshow. All of these in one amazing and powerful app!
Conclusion
You don’t need to be an expert at photo editing to use the eraser tool. Using only one robust photo editing app and the steps above, you can edit your photos effortlessly.
Related Questions
Can I use CutPaste Photos Pro to create invitations for an upcoming event?
Yes! CutPaste Photos Pro has tools that you can use to create invitations. To learn more, read our tutorial: Design An Invitation And Invitation Envelopes With Cut Paste.
I want to merge my photos, but how?
Merging photos shouldn’t be that difficult, at least not with CutPaste Photos Pro. Here’s our tutorial on combining photos: Combine Images: How To Merge Photos Together?